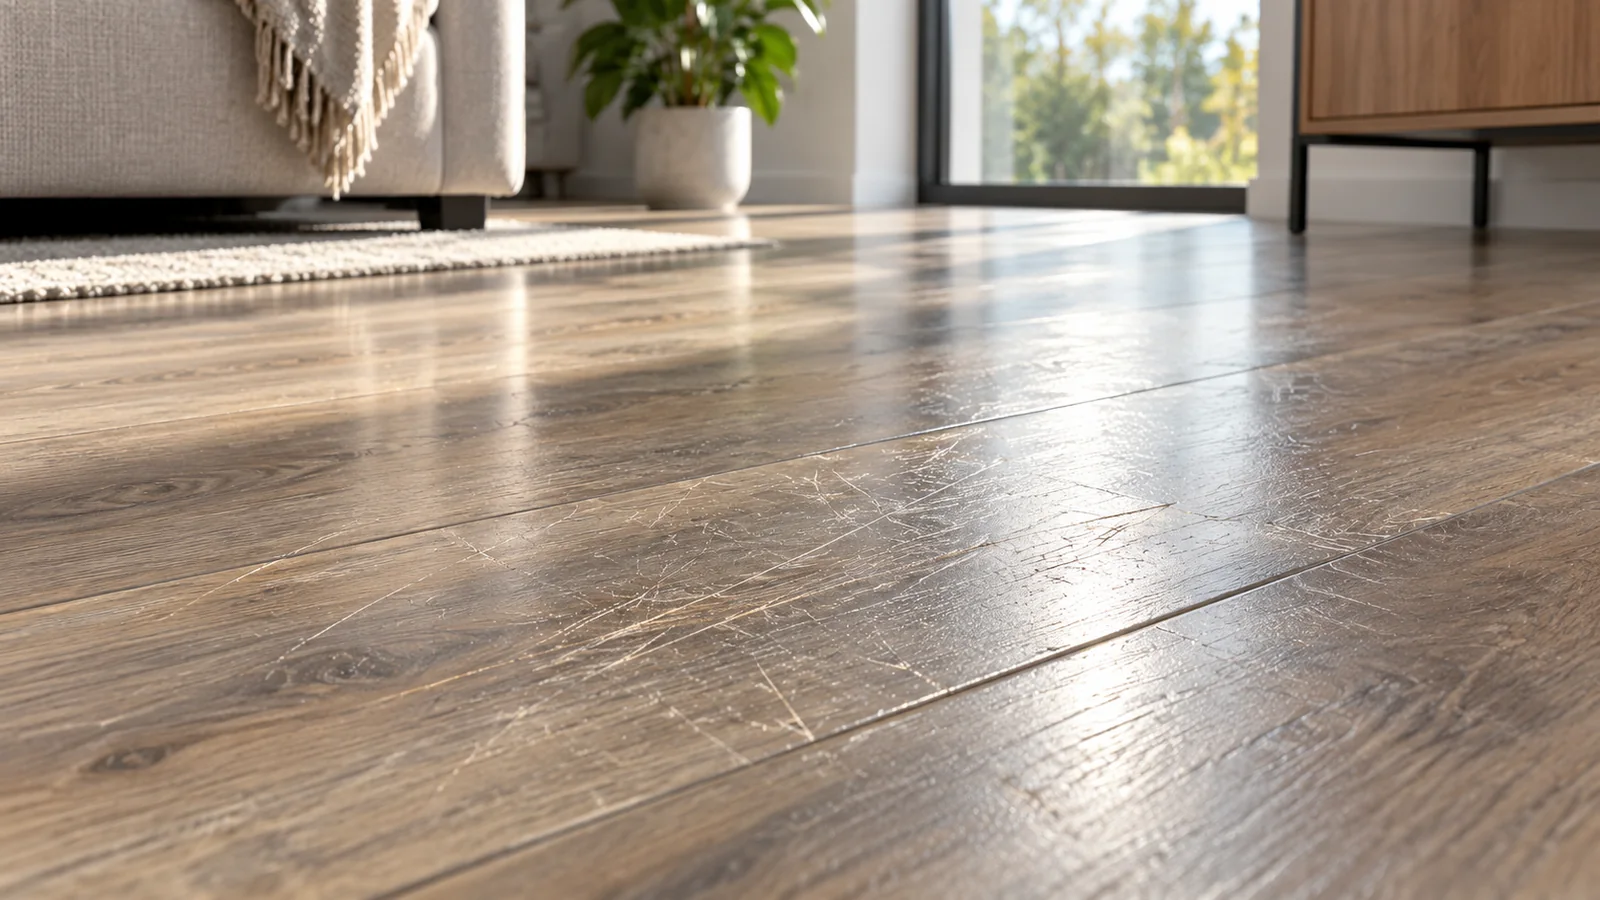
Laminate cannot be refinished like hardwood
Most laminate flooring has a photographic decorative layer protected by a wear layer over a fiberboard core. Sanding through that top construction does not reveal usable wood; it destroys the pattern. That is why scratch repair focuses on cleaning, filling, color matching or plank replacement depending on depth.
Classify the damage before buying a repair kit
A scuff sits on the surface. A light scratch affects the wear layer. A deeper gouge may expose the decorative layer or core. Swelling at a joint indicates moisture damage and is a different repair entirely.
What you need
- Vacuum or soft brush
- Laminate-safe cleaner
- Microfiber cloth
- Color-matched laminate repair compound or wax system when appropriate
- Plastic applicator
Step-by-step
1. Remove grit and confirm it is a scratch
Vacuum loose grit and clean with a laminate-safe product. Dark shoe transfer and embedded dirt can mimic scratches.
2. Leave superficial lines alone if they are not visible in normal use
Over-repair can make a small defect more noticeable. If the wear layer is intact, a manufacturer-approved cosmetic product may be all that is justified.
3. Fill deeper cosmetic damage with a matching system
Use the smallest amount of compatible filler or repair wax and level it carefully. Match both color and sheen where possible. Practice on a spare plank if available.
4. Replace the plank when the structure is compromised
Deep gouges, broken locking edges and swollen fiberboard cannot be restored by surface filler. A plank replacement usually produces a better long-term result.
Prevent repeat scratches
Use clean felt pads under furniture, lift rather than drag heavy objects, and keep entry grit under control. A single hard particle trapped under a chair leg can cut repeated lines into the wear layer.
How to prevent the problem from coming back
For “How to Repair Scratches in Laminate Flooring,” this part of the process should be judged against the Laminate Flooring on the Floor, not against a generic cleaning rule. Avoid uncontrolled soaking, mixed chemicals, metal scraping and repeated heavy abrasion unless the care guidance for this exact material explicitly allows them. Escalate only one variable at a time so any improvement—or damage—has an obvious cause. A small remaining cosmetic defect is preferable to creating a larger finish change on the Laminate Flooring.
With “How to Repair Scratches in Laminate Flooring,” treat the condition of the Laminate Flooring and the location of Scratches on the Floor as the limits of the method. Keep the treatment local and controlled. Remove loose debris first, use the least aggressive compatible step, clear away residue between passes and let the area dry before deciding what comes next. If the mark does not respond, reconsider the diagnosis rather than simply increasing force or dwell time. That keeps the method tied to Scratches on Laminate Flooring instead of turning a corrective step into a universal household recipe.
When to stop and get professional help
The decision point in “How to Repair Scratches in Laminate Flooring” is material-specific: protect the Laminate Flooring on the Floor while testing whether Scratches is actually removable. When to stop is part of the fix: end the treatment if the material changes color, gloss, texture, edge condition or layer integrity, or when the remaining mark behaves like physical damage rather than residue. At that point the next decision is repair, refinishing, replacement or professional assessment—not stronger cleaning. For this Floor, preserving the finish is a better endpoint than chasing the last cosmetic trace with unnecessary force.
SurfaceFixLab bottom line
The decision point in “How to Repair Scratches in Laminate Flooring” is material-specific: protect the Laminate Flooring on the Floor while testing whether Scratches is actually removable. Keep the treatment local and controlled. Remove loose debris first, use the least aggressive compatible step, clear away residue between passes and let the area dry before deciding what comes next. If the mark does not respond, reconsider the diagnosis rather than simply increasing force or dwell time. That keeps the method tied to Scratches on Laminate Flooring instead of turning a corrective step into a universal household recipe.
How SurfaceFixLab evaluates this fix
With “How to Repair Scratches in Laminate Flooring,” treat the condition of the Laminate Flooring and the location of Scratches on the Floor as the limits of the method. Product-specific care information matters because coatings, sealers and factory finishes can change the limits of an otherwise familiar material. If the exact finish is unknown, use the more sensitive assumption until a small dried test shows no change in color, gloss or texture. For this Floor, preserving the finish is a better endpoint than chasing the last cosmetic trace with unnecessary force.
For “How to Repair Scratches in Laminate Flooring,” this part of the process should be judged against the Laminate Flooring on the Floor, not against a generic cleaning rule. Product-specific care information matters because coatings, sealers and factory finishes can change the limits of an otherwise familiar material. If the exact finish is unknown, use the more sensitive assumption until a small dried test shows no change in color, gloss or texture. For this Floor, preserving the finish is a better endpoint than chasing the last cosmetic trace with unnecessary force.
Before you begin: a five-minute surface check
In “How to Repair Scratches in Laminate Flooring,” the useful evidence comes from how Scratches responds on this specific Laminate Flooring and Floor. Product-specific care information matters because coatings, sealers and factory finishes can change the limits of an otherwise familiar material. If the exact finish is unknown, use the more sensitive assumption until a small dried test shows no change in color, gloss or texture. For this Floor, preserving the finish is a better endpoint than chasing the last cosmetic trace with unnecessary force.
The decision point in “How to Repair Scratches in Laminate Flooring” is material-specific: protect the Laminate Flooring on the Floor while testing whether Scratches is actually removable. Avoid uncontrolled soaking, mixed chemicals, metal scraping and repeated heavy abrasion unless the care guidance for this exact material explicitly allows them. Escalate only one variable at a time so any improvement—or damage—has an obvious cause. A small remaining cosmetic defect is preferable to creating a larger finish change on the Laminate Flooring.
Use an escalation ladder instead of a single aggressive trick
For “How to Repair Scratches in Laminate Flooring,” this part of the process should be judged against the Laminate Flooring on the Floor, not against a generic cleaning rule. Product-specific care information matters because coatings, sealers and factory finishes can change the limits of an otherwise familiar material. If the exact finish is unknown, use the more sensitive assumption until a small dried test shows no change in color, gloss or texture. For this Floor, preserving the finish is a better endpoint than chasing the last cosmetic trace with unnecessary force.
The decision point in “How to Repair Scratches in Laminate Flooring” is material-specific: protect the Laminate Flooring on the Floor while testing whether Scratches is actually removable. When to stop is part of the fix: end the treatment if the material changes color, gloss, texture, edge condition or layer integrity, or when the remaining mark behaves like physical damage rather than residue. At that point the next decision is repair, refinishing, replacement or professional assessment—not stronger cleaning. For this Floor, preserving the finish is a better endpoint than chasing the last cosmetic trace with unnecessary force.
Know what success looks like
In “How to Repair Scratches in Laminate Flooring,” the useful evidence comes from how Scratches responds on this specific Laminate Flooring and Floor. When to stop is part of the fix: end the treatment if the material changes color, gloss, texture, edge condition or layer integrity, or when the remaining mark behaves like physical damage rather than residue. At that point the next decision is repair, refinishing, replacement or professional assessment—not stronger cleaning. A small remaining cosmetic defect is preferable to creating a larger finish change on the Laminate Flooring.
Aftercare matters
In “How to Repair Scratches in Laminate Flooring,” the useful evidence comes from how Scratches responds on this specific Laminate Flooring and Floor. Avoid uncontrolled soaking, mixed chemicals, metal scraping and repeated heavy abrasion unless the care guidance for this exact material explicitly allows them. Escalate only one variable at a time so any improvement—or damage—has an obvious cause. A small remaining cosmetic defect is preferable to creating a larger finish change on the Laminate Flooring.
Understand what laminate flooring can and cannot be repaired
Laminate flooring is a layered product with a wear surface over a printed decorative layer and a fiberboard core. Unlike solid hardwood, it is not designed to be repeatedly sanded and refinished. That means scratch repair is primarily cosmetic unless the plank itself is structurally damaged.
Clean before judging depth
Vacuum or sweep grit first, then use the flooring manufacturer’s approved cleaning method. Scuff transfer, grime and residue can make a mark look deeper than it is. Let the plank dry fully and inspect it from several angles under normal room lighting.
Minor cosmetic scratches
For small marks, use a manufacturer-approved repair pencil, wax or color-matching kit when available. Pergo, for example, offers dedicated maintenance and repair accessories for laminate. Apply as little material as necessary and remove excess before it hardens on the surrounding wear layer.
Deeper gouges and damaged edges
If the decorative layer is missing, the repair becomes more visible and color matching matters. If the fiberboard core is exposed, swollen or crumbling, cosmetic filler cannot restore the plank’s original structure. Likewise, broken locking edges can affect floor stability and usually justify plank replacement.
Avoid hardwood repair techniques
Do not broadly sand laminate to blend a scratch. Sanding can remove the wear layer and printed design. Avoid steam, flooding and wet repair compounds that can enter joints and swell the core. Follow the flooring manufacturer’s moisture and cleaning limits.
When replacement is the better fix
A replacement plank may be more predictable when damage is central in the room, highly visible, structurally deep or associated with swelling. Save spare planks from the original installation when possible because matching color and texture becomes harder as product lines change.
Prevention
Use clean felt pads under furniture, lift heavy objects instead of dragging them, place entry mats where grit is tracked in, and vacuum hard particles before wet cleaning. Tiny mineral grains under chair legs can create repeated scratches long before they are obvious.
Launch navigation paths
Continue with Laminate Flooring guide hub or Scratches guide hub or Floor Cleaning & Repair Guides. These routes keep the advice connected to the exact material, problem and household object instead of treating this repair as an isolated cleaning hack.
Safety checkpoint for How to Repair Scratches in Laminate Flooring: Before you start, test the method on an inconspicuous part of the Laminate Flooring and let it dry. Avoid increasing chemical strength or abrasion if the Floor changes sheen, color or texture. When to stop: if Scratches remains as a fixed physical change, switch to repair, replacement or professional guidance rather than continuing to clean. For prevention, return to normal material-safe care once the immediate problem is resolved.
Reference set reviewed 2026-09-16. Manufacturer or material-owner guidance is prioritized; exact finish/product instructions take precedence where they differ.