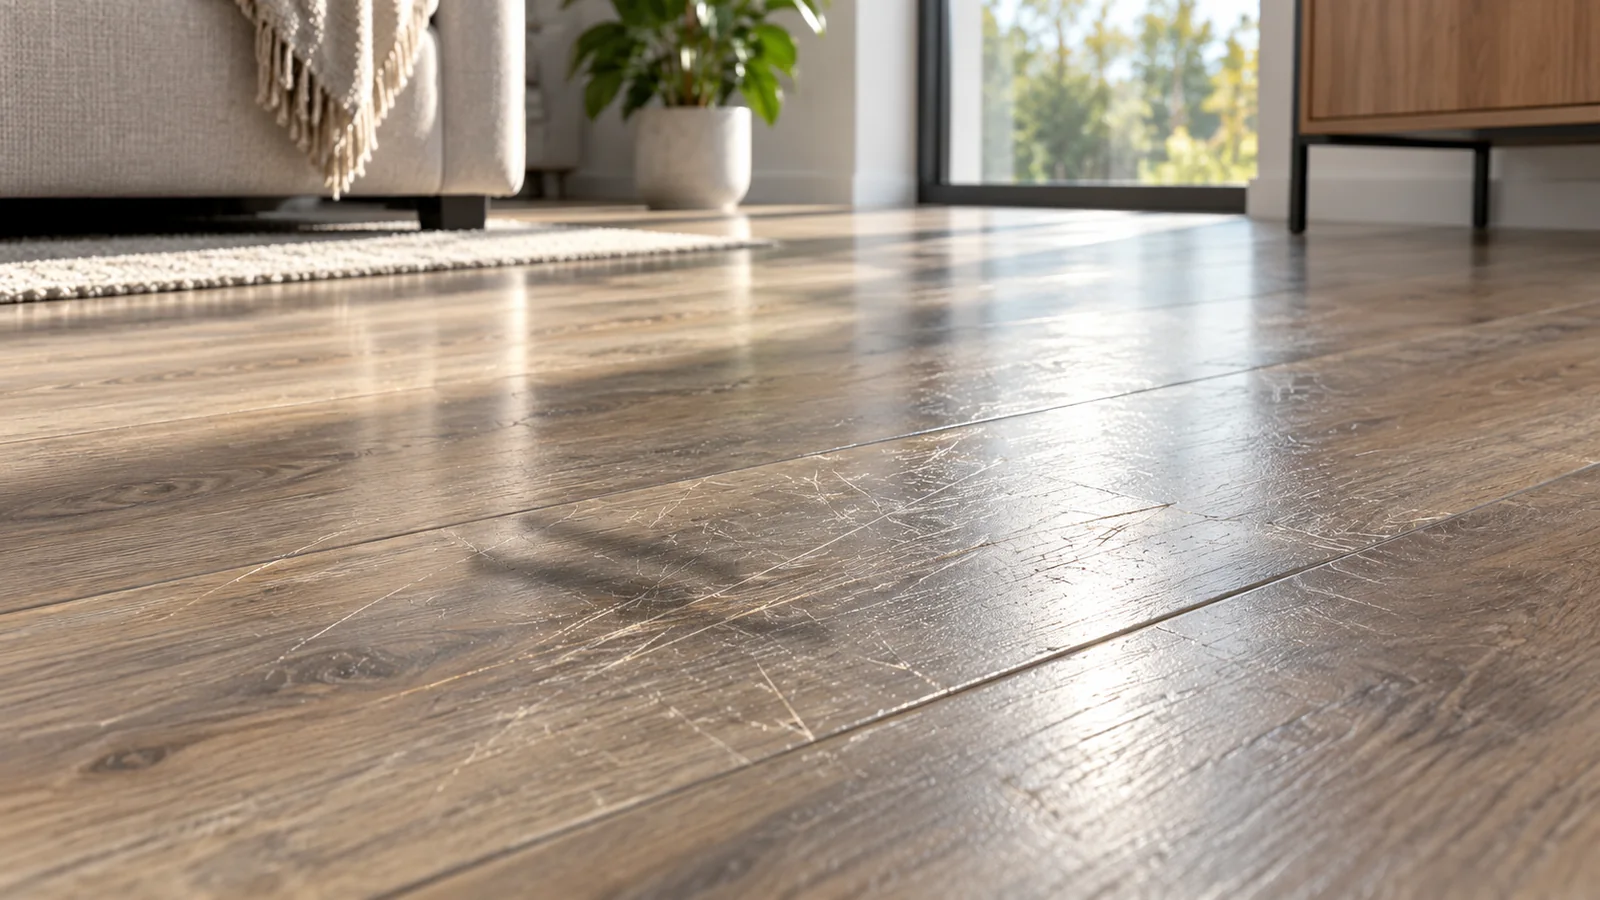
Black scuff marks on laminate flooring are commonly rubber or polymer transfer from shoes, wheels, chair feet or moving furniture. They often sit on top of the wear layer and can be removed without aggressive cleaning. The main risk is using an abrasive method that turns a removable black mark into a permanent change in sheen.
Check whether material transfers to the cloth
Remove grit with a vacuum or soft broom. Wipe the mark with a clean damp microfiber cloth using the laminate manufacturer’s routine cleaner. If black material transfers onto the cloth and the line becomes lighter, continue with the same mild approach. If the line does not change and catches a fingernail, it may be a scratch rather than a scuff.
Work in short passes
Use a small amount of cleaner and avoid saturating joints. Laminate floors are particularly vulnerable when water reaches the fiberboard core at seams. Apply cleaner to the cloth or mop rather than pouring it directly on the floor, and dry the area when the mark is gone.
- Vacuum the area so no grit remains.
- Clean the scuff with the approved laminate-floor cleaner.
- Use light pressure and rotate to a clean part of the cloth as transfer appears.
- Wipe away cleaner residue.
- Inspect the dry wear layer in side light.
Do not polish away the wear layer
Coarse pads, steel wool, abrasive powder and repeated melamine-foam rubbing can dull a factory finish. Avoid unapproved solvent, wax or polish; laminate flooring is normally designed with a finished wear layer and does not benefit from products intended to build a new coating on top.
If the line remains after cleaning
A pale groove, chipped printed layer or shiny depression is physical damage. Cleaning will not rebuild that material. If the mark looks different only from one viewing angle, compare it with surrounding wear before assuming residue remains. The Damage vs Dirt page explains this distinction in more detail.
Prevent repeat scuffing
Clean chair glides and caster wheels, replace damaged floor protectors, and prevent grit from collecting under moving furniture. At entrances, a suitable mat can reduce both rubber transfer and the abrasive soil that causes true scratching. For other laminate-floor problems, use the Fix Finder.
Before you start: set a safe baseline
Before you start on black scuff marks affecting a laminate flooring, clear the area, remove loose grit or debris, and identify the exact product or finish if that information is available. The important vulnerability here is the transparent wear layer can be polished or dulled by abrasive spot cleaning, and moisture should be kept out of joints. Photograph the mark in dry, even light before treatment so you can compare the same area later instead of relying on memory. If the installation includes another material at an edge, seam, joint or trim piece, treat the least tolerant nearby material as part of the decision.
Use separate clean cloths for the cleaning pass, the rinse pass and final drying. That sounds simple, but it prevents loosened soil or dissolved residue from being rubbed back over the surface. Keep the work area small enough that you can control contact time and rinse completely. When a product label or manufacturer care sheet gives a dilution, dwell time or prohibited chemistry, that instruction takes priority over a generic household-cleaning shortcut.
Identify what the mark is telling you
For this specific problem, a useful diagnostic clue is that a scuff usually transfers black material to a damp cloth and becomes lighter; a scratch remains as a groove, pale line, chip or sheen change after the transfer is gone. Make that distinction before escalating. A cleaner can remove contamination, but it cannot rebuild missing coating, restore swollen core material or reverse a physical scratch. Conversely, treating removable transfer as permanent damage can lead to unnecessary repair. Use touch, side lighting and a small controlled cleaning test to separate residue from actual surface change.
Re-check the area only after it is rinsed and fully dry. Water and cleaner film can temporarily hide dullness or make a patch look darker. If the surface looks different only while wet, give it time to dry before deciding the first method failed. If the difference remains dry, note whether it is color, texture, gloss or shape; each points toward a different next decision.
Use an escalation ladder, not a single aggressive attempt
The preferred starting point is vacuum grit, apply the manufacturer’s routine floor cleaner to a microfiber cloth, and use light passes while rotating to a clean section of the cloth. The goal of the first pass is not to force a perfect cosmetic result; it is to learn how the laminate flooring responds while using the lowest-risk effective option. Keep pressure, chemistry and contact time controlled, then rinse and inspect. A small improvement tells you more than an aggressive one-pass treatment that may also alter the finish.
If the first pass helps but does not finish the job, the next escalation should be deliberate: if the mark is stubborn, use only a laminate-approved spot treatment and inspect the dry wear layer under side light before repeating. Change only one variable at a time. For example, do not simultaneously switch to a stronger chemical, increase dwell time and add abrasive pressure, because you will not know which factor caused improvement or damage. Short cycles with inspection between them are easier to stop at the right point.
Troubleshooting an uneven result
If one part of the mark clears faster than another, do not automatically concentrate more pressure on the stubborn center. Uneven deposits often reflect differences in thickness, contact time, texture or exposure rather than a need for harsher cleaning. Feather the method across the boundary and keep the cleaned patch visually consistent with the surrounding floor. When the surrounding area is generally soiled, cleaning only a tiny spot can also create an apparent “bright patch” even though the surface itself was not changed.
Pay attention to edges and transitions. Many failures happen not on the broad face of a material but where liquid reaches a seam, exposed edge, grout line, caulk joint or neighboring finish. Keep the treatment where it belongs and remove excess promptly. If the problem sits directly on a vulnerable joint, a slower hand-cleaning approach is safer than flooding the area to save time.
What to avoid on this surface
For laminate flooring, avoid steel wool, abrasive powder, concentrated melamine-foam rubbing, unapproved solvent, wax, polish and wet soaking at plank seams. Also avoid combining products unless the manufacturers explicitly say they are compatible. Stronger chemistry is not automatically a stronger solution, and added abrasion can permanently change gloss or texture even when the stain, scale or residue disappears. If a method is not described for the material or its finish, test it outside the visible area or do not use it.
When to stop
When to stop is part of the repair plan, not an admission that cleaning failed. Stop further escalation when black transfer has stopped but a line remains, the patch turns dull or glossy, the printed layer is damaged, or a seam begins to lift. At that point, more cleaning is unlikely to restore the original appearance and may enlarge the affected area. Reclassify the issue as possible finish change, wear, physical damage or an installation problem and move to repair, replacement or professional assessment as appropriate.
If you cannot confidently tell whether the remaining mark is removable contamination, use the Damage vs Dirt diagnostic before continuing. That check is especially useful after the tactile residue is gone but a color or sheen difference remains. For a route that combines the exact problem and material, the Fix Finder provides the corresponding SurfaceFixLab path.
Prevent the same problem from becoming a repeat repair
Prevention for this case is practical: clean chair feet and caster wheels, use suitable floor protectors, trap grit at entrances, and correct furniture movement that repeatedly creates the same mark. The best maintenance routine reduces the frequency with which the surface needs concentrated spot treatment. That protects the finish, keeps seams and adjoining materials drier, and makes future marks easier to diagnose because the surrounding surface is already in a known clean condition.
Reference set verified 2026-09-16. Manufacturer/material-owner guidance prioritized; exact model and finish instructions take precedence.