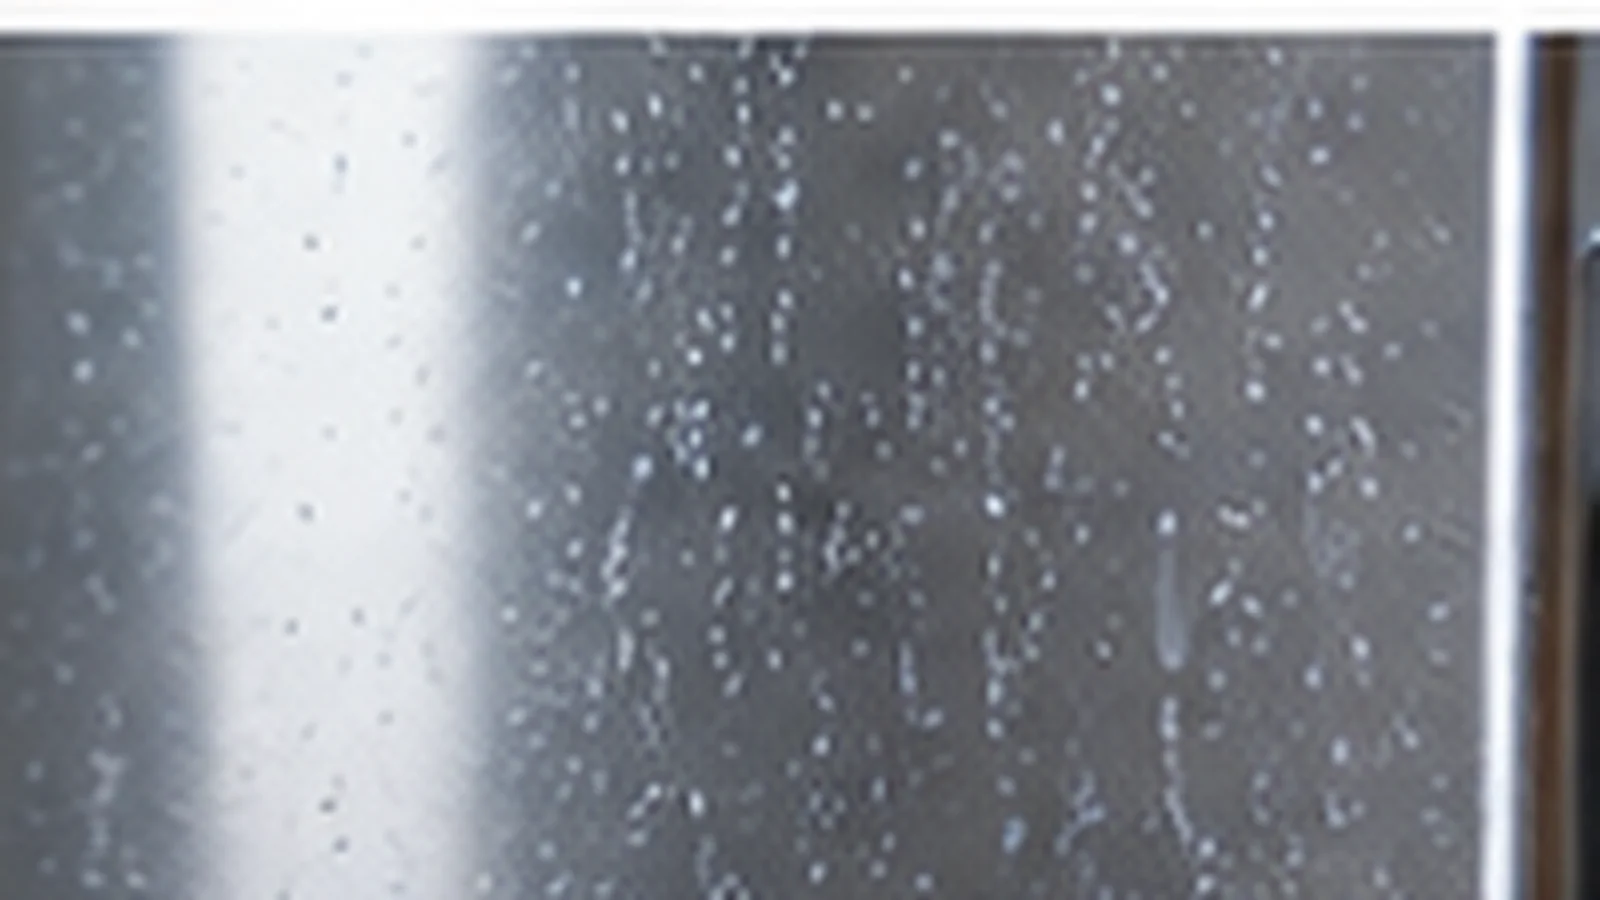
Remove water spots from stainless steel appliances while respecting grain direction and the difference between traditional and coated stainless finishes. SurfaceFixLab treats this as a material-specific problem, not as permission to use the strongest cleaner first. The safest useful method begins with identification, controlled cleaning and a dry inspection before any escalation.
Water spots are usually dissolved minerals or iron-containing residue left behind when droplets evaporate. On traditional brushed stainless, they often respond to gentle cleaning and complete drying. On black or fingerprint-resistant stainless, however, the visible surface may be a coating and should not automatically receive the same cleaner.
Identify traditional versus coated stainless
Use the model information and owner’s manual. Whirlpool notes that each stainless finish can require a different method. Traditional stainless is commonly cleaned along the grain, while fingerprint-resistant and black stainless finishes have stricter restrictions on abrasives and certain cleaners.
Start with warm soapy water
Dampen a microfiber cloth with warm water and mild detergent, wipe evenly and dry completely. For traditional stainless, follow the grain direction. Drying is not cosmetic trivia: Whirlpool notes that water left on stainless can contribute to discoloration because the water itself may contain iron or minerals.
Escalation for traditional stainless only
If the owner’s manual allows it, use a stainless-specific cleaner or the manufacturer’s approved hard-water method. Do not extrapolate an acidic home remedy from bare stainless to a coated finish. Keep polish away from plastic trim and rubber gaskets, and remove any accidental contact promptly with mild detergent and water.
Start with the surface, not the stain
SurfaceFixLab uses a conservative escalation ladder because two materials that look similar can react very differently to moisture, solvents, acids, alkalinity or abrasion. Confirm the product or finish whenever possible, remove loose debris first, test an unfamiliar method in a hidden area, and inspect the result only after the surface is clean and dry. Manufacturer care instructions take priority over generic household advice, especially when the surface is coated, textured, refinished, under warranty or part of an appliance. Applied to How to Remove Water Spots From Stainless Steel Appliances, this checkpoint should be read material-first: protect the Stainless Steel and change only one variable at a time while assessing Water Spots.
Build a low-risk work area
Use clean microfiber cloths, fresh rinse water and only one cleaner or treatment at a time. Protect seams, edges, caulk, painted trim and neighboring materials from runoff. Do not mix household cleaning products, and follow the label for ventilation, gloves and other protective equipment. If you change chemistry, remove the previous product and rinse as directed before continuing. For this guide, the practical constraint is the Stainless Steel on the Appliance, so escalation should stop before treating Water Spots begins to alter the finish.
How to judge progress
Work on a small section and compare it with an untreated area under angled light. A successful treatment should reduce the original mark without creating a new difference in sheen, texture, color or edge condition. Wet surfaces can hide haze and dull spots, so dry the area fully before deciding whether another pass is justified. If improvement stops after two controlled attempts, revisit the diagnosis instead of increasing force automatically. Here, judge the result against the surrounding Stainless Steel on the Appliance; reducing Water Spots is useful only while color, sheen and texture remain unchanged.
What not to do
- Do not assume a viral cleaning hack is safe for every finish in the same material family.
- Do not use steel wool, aggressive abrasive pads or scraping blades unless the surface manufacturer explicitly permits them.
- Do not flood seams, joints or composite edges; water intrusion can create damage that is harder to repair than the original stain.
- Do not leave a stronger cleaner sitting longer simply because a first short application did not work.
- Do not mix acids, bleach, ammonia or other household chemicals.
When to stop and escalate
Stop DIY treatment if the finish becomes dull, tacky, lighter or darker; if a coating starts to lift; if a seam swells; if a scratch catches a fingernail and exposes a lower layer; or if the remaining mark is smooth and unchanged after removable residue is gone. Those signs point toward finish damage, physical damage or a material change rather than ordinary soil. At that point, manufacturer support, a fabricator, refinisher or qualified repair professional is usually safer than continued experimentation. In this specific case, preserve the Stainless Steel on the Appliance rather than chasing the final trace of Water Spots with stronger chemistry or abrasion.
Prevention
Prompt cleanup, dry surfaces and finish-appropriate maintenance prevent many repeat problems. Wipe spills before they cure, use trivets and coasters where heat or moisture is involved, keep abrasive grit away from work surfaces, and use mats or protective pads where repeated contact is predictable. Save product model and finish information; it makes future care decisions much easier. Applied to How to Remove Water Spots From Stainless Steel Appliances, this checkpoint should be read material-first: protect the Stainless Steel and change only one variable at a time while assessing Water Spots.
Before you begin: identify the exact product when possible
Look for a manufacturer label, appliance model number, countertop invoice, flooring carton, cabinet specification or finish name. Care limits can change within one broad material category. A coated stainless refrigerator is not maintained like bare traditional stainless; one engineered-quartz brand can publish a stronger stain procedure than another; and laminate edges can fail from moisture even when the decorative face itself is water resistant. For this guide, the practical constraint is the Stainless Steel on the Appliance, so escalation should stop before treating Water Spots begins to alter the finish.
If the item is new or under warranty, using the maker’s care instructions is especially important. Save the model or product information with a photo of the problem before treatment. That record helps if you later need support and gives you a baseline for deciding whether a method actually improved the surface. Applied to How to Remove Water Spots From Stainless Steel Appliances, this checkpoint should be read material-first: protect the Stainless Steel and change only one variable at a time while assessing Water Spots.
Use an escalation ladder
- Remove loose dirt or grit without rubbing it across the finish.
- Use the mild routine-cleaning method approved for the surface.
- Rinse or remove residue and dry completely.
- If the mark remains, classify it again: deposit, stain, transfer, scratch, coating change or structural damage.
- Only then use the next manufacturer-approved method.
This ladder is intentionally slower than combining multiple household hacks. It lowers the chance of creating scratches, swollen seams, stripped coatings or uneven sheen, and it makes the result of each step easier to judge. For this guide, the practical constraint is the Stainless Steel on the Appliance, so escalation should stop before treating Water Spots begins to alter the finish.
Frequently asked questions
Should I use vinegar?
Only when the exact surface maker allows acidic cleaning for that finish and problem. Vinegar is common household advice, but it is not universally suitable for coated appliance finishes, natural stone, some grout and nearby materials. In this specific case, preserve the Stainless Steel on the Appliance rather than chasing the final trace of Water Spots with stronger chemistry or abrasion.
Should I use a melamine sponge?
Not automatically. Melamine foam behaves as a mild abrasive and can change sheen on some paints, laminates and coatings. Use it only when the manufacturer permits it and after a hidden test. Here, judge the result against the surrounding Stainless Steel on the Appliance; reducing Water Spots is useful only while color, sheen and texture remain unchanged.
How many times should I repeat a method?
One or two controlled passes are usually enough to see whether the chemistry is working. Repeating a weakly effective method many times increases exposure without proving that the diagnosis is correct. In this specific case, preserve the Stainless Steel on the Appliance rather than chasing the final trace of Water Spots with stronger chemistry or abrasion.
When is professional help justified?
When the defect is structural, the finish is lifting or permanently dulled, the damage crosses a seam or edge, the item is valuable, or the manufacturer recommends service rather than further cleaning. Here, judge the result against the surrounding Stainless Steel on the Appliance; reducing Water Spots is useful only while color, sheen and texture remain unchanged.
Why controlled dwell time matters
Cleaning chemistry needs contact time, but longer is not automatically better. Product instructions balance effectiveness against risks such as coating softening, resin reaction, color change and residue. Start with the shortest approved contact time. Do not let a cleaner dry unless its instructions explicitly call for that. After rinsing or wiping, let the surface dry before deciding whether another application is needed. For this guide, the practical constraint is the Stainless Steel on the Appliance, so escalation should stop before treating Water Spots begins to alter the finish.
Edges, seams and neighboring materials
Many household surfaces fail first at transitions rather than in the middle of the visible field. Countertop seams can expose particleboard or adhesive; cabinet edges can wick moisture; appliance doors combine metal with plastic trim and rubber seals; sinks meet caulk and metal drains. Apply liquids with a cloth when practical instead of flooding or broad spraying, and wipe runoff before it reaches a material with different care rules. Applied to How to Remove Water Spots From Stainless Steel Appliances, this checkpoint should be read material-first: protect the Stainless Steel and change only one variable at a time while assessing Water Spots.
Documenting a repeat problem
If the same stain, mineral deposit or mark returns, note where and how quickly. Recurrence can reveal the real cause: hard water, a leaking dispenser, metal feet dragging on a counter, cooking grease settling on cabinets, or condensation drying on an appliance. Fixing the cause reduces both maintenance and the number of times the surface must be exposed to cleaning chemistry. Here, judge the result against the surrounding Stainless Steel on the Appliance; reducing Water Spots is useful only while color, sheen and texture remain unchanged.
Choosing tools by surface risk
A soft cloth, plastic edge or non-scratch pad is usually easier to control than a metal blade or abrasive powder. Even products marketed as non-scratch should be tested because pressure, trapped grit and repeated rubbing can alter sheen. Use fresh cloth faces frequently so lifted soil is not dragged back across the finish. In this specific case, preserve the Stainless Steel on the Appliance rather than chasing the final trace of Water Spots with stronger chemistry or abrasion.
What success should look like
Success is not necessarily a factory-new appearance after one pass. A safe result can be a major reduction in visibility with the original finish still intact. If chasing the last faint shadow requires a method outside the manufacturer’s care limits, preserving the surface is the better result. Here, judge the result against the surrounding Stainless Steel on the Appliance; reducing Water Spots is useful only while color, sheen and texture remain unchanged.
SurfaceFixLab final check
After the last treatment, remove all product residue as directed and allow the area to return to normal room temperature and dryness. Look across the surface rather than straight down at it. Confirm that the original problem is smaller and that there is no new boundary in gloss, color, texture or coating behavior. If the cure looks worse from an angle than the original defect, stop and document it rather than trying to blend the area with more aggressive rubbing. In this specific case, preserve the Stainless Steel on the Appliance rather than chasing the final trace of Water Spots with stronger chemistry or abrasion.
Good household repair is often less about finding a powerful trick than about stopping at the right point. The best outcome preserves the original finish, solves the removable part of the problem and recognizes when the remaining defect belongs to refinishing, fabrication or replacement rather than cleaning. For this guide, the practical constraint is the Stainless Steel on the Appliance, so escalation should stop before treating Water Spots begins to alter the finish.
Reference set verified 2026-09-16. Manufacturer or material-owner guidance is prioritized; exact product and finish instructions take precedence.