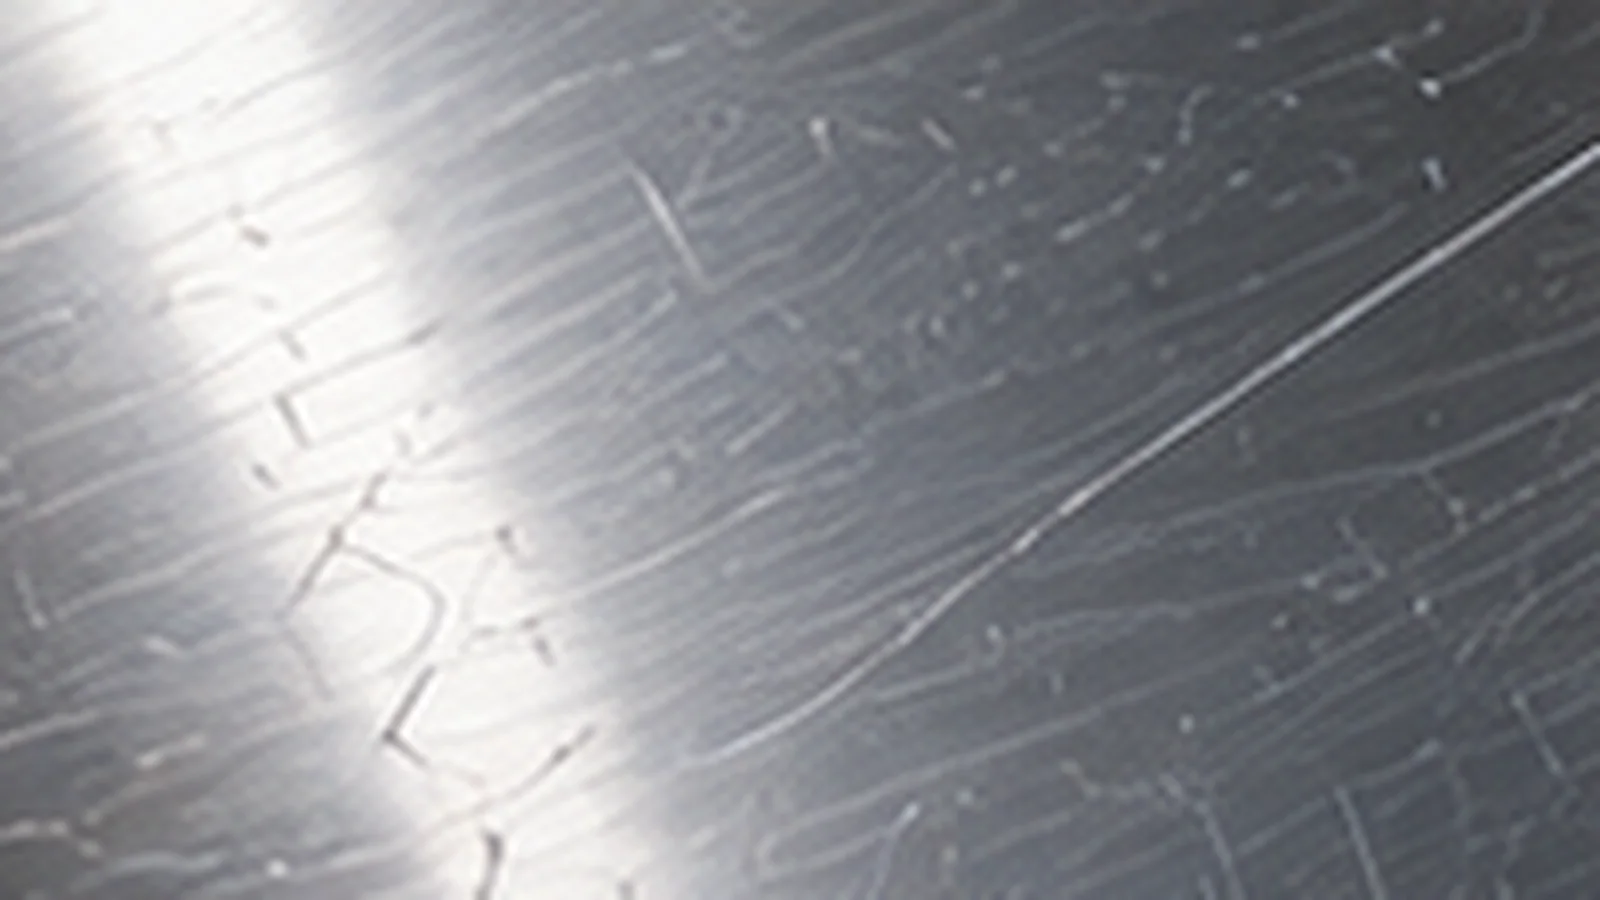
First decide whether it is a mark, scuff or true scratch
Stainless-steel appliance doors show fingerprints, transferred metal marks, cleaning streaks and true scratches in similar ways under directional light. Clean the panel before attempting any correction. A mark that disappears with ordinary stainless-steel cleaning does not need abrasive treatment.
Also determine whether the appliance is conventional brushed stainless, fingerprint-resistant coated stainless or a decorative stainless-look finish. Abrasive correction suitable for bare brushed metal can permanently damage a coating.
What you need
- Manufacturer-approved stainless cleaner
- Clean microfiber cloths
- Bright side lighting to reveal the grain
- Only a finish-specific scratch treatment if the manufacturer allows it
Step-by-step
1. Clean and dry the entire affected panel
Wipe with the grain. Residue can exaggerate a mark and abrasive grit trapped in a cloth can create additional scratches.
2. Find the grain direction
Brushed stainless usually has fine parallel lines. Any permitted corrective motion should follow those lines. Working across them can create a visibly different patch even if the original scratch becomes shallower.
3. Decide whether correction is appropriate
For coated or fingerprint-resistant finishes, stop and check the appliance manufacturer’s instructions. For bare brushed stainless, a purpose-designed correction method may be possible, but matching the existing finish is more important than simply reducing scratch depth.
4. Work larger than the scratch only when necessary
Spot polishing can create a bright halo. If the correction method changes texture, achieving an even appearance may require blending along the grain over a larger area. Deep scratches and premium appliance panels are good candidates for professional refinishing.
What not to use casually
Steel wool can leave particles that later rust and can alter the finish. Coarse pads and random abrasive pastes can create a larger visible patch. A scratch-removal technique is successful only when the surrounding finish still looks consistent in normal light.
How to prevent the problem from coming back
For “How to Deal With Scratches on Stainless Steel Appliances,” this part of the process should be judged against the Stainless Steel on the Appliance, not against a generic cleaning rule. Avoid uncontrolled soaking, mixed chemicals, metal scraping and repeated heavy abrasion unless the care guidance for this exact material explicitly allows them. Escalate only one variable at a time so any improvement—or damage—has an obvious cause. That keeps the method tied to Scratches on Stainless Steel instead of turning a corrective step into a universal household recipe.
The decision point in “How to Deal With Scratches on Stainless Steel Appliances” is material-specific: protect the Stainless Steel on the Appliance while testing whether Scratches is actually removable. Keep the treatment local and controlled. Remove loose debris first, use the least aggressive compatible step, clear away residue between passes and let the area dry before deciding what comes next. If the mark does not respond, reconsider the diagnosis rather than simply increasing force or dwell time. A small remaining cosmetic defect is preferable to creating a larger finish change on the Stainless Steel.
When to stop and get professional help
For “How to Deal With Scratches on Stainless Steel Appliances,” this part of the process should be judged against the Stainless Steel on the Appliance, not against a generic cleaning rule. When to stop is part of the fix: end the treatment if the material changes color, gloss, texture, edge condition or layer integrity, or when the remaining mark behaves like physical damage rather than residue. At that point the next decision is repair, refinishing, replacement or professional assessment—not stronger cleaning. That keeps the method tied to Scratches on Stainless Steel instead of turning a corrective step into a universal household recipe.
SurfaceFixLab bottom line
With “How to Deal With Scratches on Stainless Steel Appliances,” treat the condition of the Stainless Steel and the location of Scratches on the Appliance as the limits of the method. Keep the treatment local and controlled. Remove loose debris first, use the least aggressive compatible step, clear away residue between passes and let the area dry before deciding what comes next. If the mark does not respond, reconsider the diagnosis rather than simply increasing force or dwell time. A small remaining cosmetic defect is preferable to creating a larger finish change on the Stainless Steel.
How SurfaceFixLab evaluates this fix
The decision point in “How to Deal With Scratches on Stainless Steel Appliances” is material-specific: protect the Stainless Steel on the Appliance while testing whether Scratches is actually removable. Product-specific care information matters because coatings, sealers and factory finishes can change the limits of an otherwise familiar material. If the exact finish is unknown, use the more sensitive assumption until a small dried test shows no change in color, gloss or texture. If the mark stops behaving like removable Scratches, return to diagnosis before changing tools or chemistry.
In “How to Deal With Scratches on Stainless Steel Appliances,” the useful evidence comes from how Scratches responds on this specific Stainless Steel and Appliance. Product-specific care information matters because coatings, sealers and factory finishes can change the limits of an otherwise familiar material. If the exact finish is unknown, use the more sensitive assumption until a small dried test shows no change in color, gloss or texture. For this Appliance, preserving the finish is a better endpoint than chasing the last cosmetic trace with unnecessary force.
Before you begin: a five-minute surface check
In “How to Deal With Scratches on Stainless Steel Appliances,” the useful evidence comes from how Scratches responds on this specific Stainless Steel and Appliance. Product-specific care information matters because coatings, sealers and factory finishes can change the limits of an otherwise familiar material. If the exact finish is unknown, use the more sensitive assumption until a small dried test shows no change in color, gloss or texture. That keeps the method tied to Scratches on Stainless Steel instead of turning a corrective step into a universal household recipe.
The decision point in “How to Deal With Scratches on Stainless Steel Appliances” is material-specific: protect the Stainless Steel on the Appliance while testing whether Scratches is actually removable. Avoid uncontrolled soaking, mixed chemicals, metal scraping and repeated heavy abrasion unless the care guidance for this exact material explicitly allows them. Escalate only one variable at a time so any improvement—or damage—has an obvious cause. That keeps the method tied to Scratches on Stainless Steel instead of turning a corrective step into a universal household recipe.
Use an escalation ladder instead of a single aggressive trick
With “How to Deal With Scratches on Stainless Steel Appliances,” treat the condition of the Stainless Steel and the location of Scratches on the Appliance as the limits of the method. Product-specific care information matters because coatings, sealers and factory finishes can change the limits of an otherwise familiar material. If the exact finish is unknown, use the more sensitive assumption until a small dried test shows no change in color, gloss or texture. A small remaining cosmetic defect is preferable to creating a larger finish change on the Stainless Steel.
In “How to Deal With Scratches on Stainless Steel Appliances,” the useful evidence comes from how Scratches responds on this specific Stainless Steel and Appliance. When to stop is part of the fix: end the treatment if the material changes color, gloss, texture, edge condition or layer integrity, or when the remaining mark behaves like physical damage rather than residue. At that point the next decision is repair, refinishing, replacement or professional assessment—not stronger cleaning. For this Appliance, preserving the finish is a better endpoint than chasing the last cosmetic trace with unnecessary force.
Know what success looks like
The decision point in “How to Deal With Scratches on Stainless Steel Appliances” is material-specific: protect the Stainless Steel on the Appliance while testing whether Scratches is actually removable. When to stop is part of the fix: end the treatment if the material changes color, gloss, texture, edge condition or layer integrity, or when the remaining mark behaves like physical damage rather than residue. At that point the next decision is repair, refinishing, replacement or professional assessment—not stronger cleaning. For this Appliance, preserving the finish is a better endpoint than chasing the last cosmetic trace with unnecessary force.
Aftercare matters
With “How to Deal With Scratches on Stainless Steel Appliances,” treat the condition of the Stainless Steel and the location of Scratches on the Appliance as the limits of the method. Avoid uncontrolled soaking, mixed chemicals, metal scraping and repeated heavy abrasion unless the care guidance for this exact material explicitly allows them. Escalate only one variable at a time so any improvement—or damage—has an obvious cause. A small remaining cosmetic defect is preferable to creating a larger finish change on the Stainless Steel.
First decide whether it is a scratch, scuff or residue
Fingerprints, metal transfer and dried cleaning residue can create lines that look like scratches. Clean the appliance according to the manufacturer’s care instructions and dry it completely before attempting correction. On traditional stainless steel, Whirlpool instructs users to clean in the direction of the grain with nonabrasive materials.
Identify the finish before using any abrasive correction
Traditional stainless, fingerprint-resistant stainless and black stainless are not interchangeable. Many modern appliance finishes use coatings or films that should not be polished or abraded. Whirlpool specifically warns that abrasive cloths, steel wool, abrasive powders and several common household cleaners can damage fingerprint-resistant or black stainless finishes.
Light marks on traditional stainless
If the owner’s manual permits polishing and the surface is uncoated traditional stainless, a purpose-made stainless cleaner or polish may reduce minor visual marks. Work with the grain, use a soft cloth and treat a larger visual area gently rather than grinding on one point. The aim is to blend appearance, not remove significant metal.
Deep scratches require a different decision
A scratch that catches a fingernail represents physical material removal. Household polishing may soften its visibility but cannot recreate the original factory texture perfectly. Aggressive sanding can produce a bright or differently grained patch that is more noticeable than the original scratch.
Black and coated stainless steel
Do not use scratch-removal kits intended for bare stainless unless the appliance manufacturer explicitly approves them. A scratch through a colored coating is not a normal polishing problem; abrasion can enlarge the damaged area and expose more substrate.
Stop conditions
Stop if the finish changes color, the grain becomes visibly different, a coating edge appears, or polishing creates a larger shiny patch. For prominent front-panel damage, manufacturer service or panel replacement may produce a better result than continued DIY correction.
Prevention
Use clean microfiber cloths, wipe with the grain, and keep abrasive sponges and steel wool away from appliances. Before cleaning, shake out or replace cloths that may contain hard grit capable of cutting the finish.
Safety checkpoint for How to Deal With Scratches on Stainless Steel Appliances: Before you start, test the method on an inconspicuous part of the Stainless Steel and let it dry. Avoid increasing chemical strength or abrasion if the Appliance changes sheen, color or texture. When to stop: if Scratches remains as a fixed physical change, switch to repair, replacement or professional guidance rather than continuing to clean. For prevention, return to normal material-safe care once the immediate problem is resolved.
Reference set reviewed 2026-09-16. Manufacturer or material-owner guidance is prioritized; exact finish/product instructions take precedence where they differ.