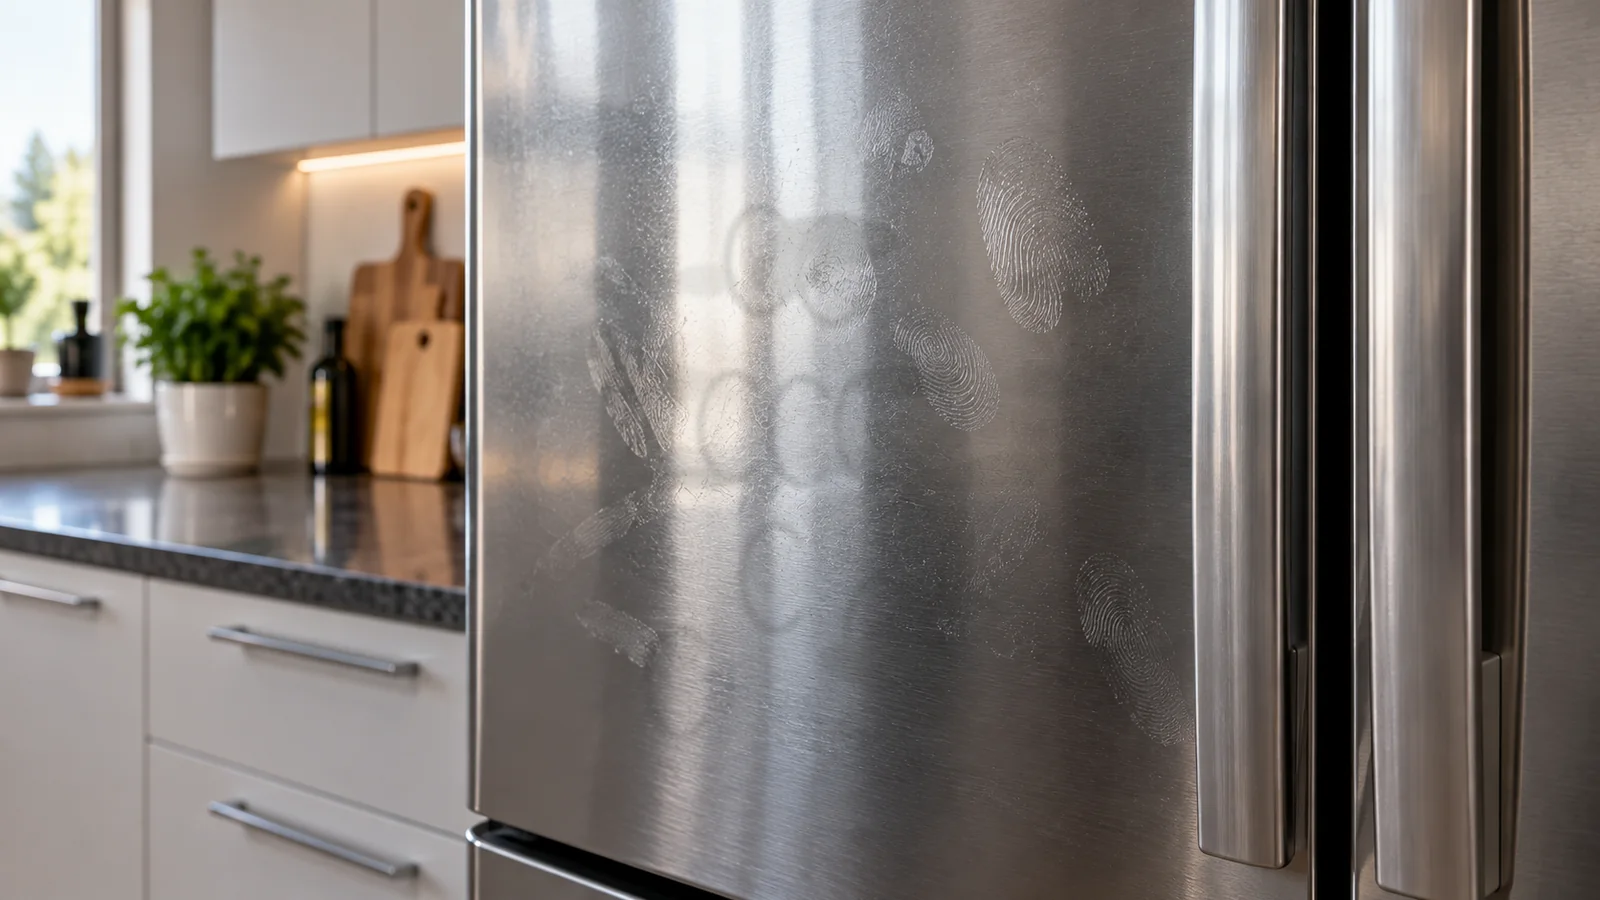
Grease on a stainless-steel appliance is usually removable, but appliance stainless is not a single finish. Some doors are bare brushed stainless, some use fingerprint-resistant coatings, and others combine stainless with painted or plastic trim. The safest method starts by identifying that finish and finding the appliance maker’s care instructions. The objective is to remove cooking oil without leaving rainbow smears, scratching across the grain or damaging a clear coating that cannot be restored by ordinary polishing.
Before you start: identify grain and coating
Look at the surface in side light. Traditional brushed stainless shows a directional grain; clean parallel to that direction. Fingerprint-resistant finishes may look more uniform and can have stricter product limits. Check the model number or owner manual when possible. Remove magnets, loose crumbs and gritty debris before wiping. Around control panels, handles and door edges, apply cleaner to the cloth rather than spraying heavily so liquid does not enter switches, seams or trim.
Break down fresh grease with a mild first pass
For ordinary cooking film, start with the manufacturer-approved routine cleaner or a mild solution the maker allows. Use a soft microfiber cloth and work with the grain. Several light passes are better than one hard scrub because grease redistributes as it dissolves. Turn the cloth frequently so you are lifting oil instead of spreading it. Follow with the rinse or finishing step specified by the appliance maker, then dry along the grain to reduce water marks and reveal whether any film remains.
Handle baked or aged grease in small zones
Old grease can polymerize into a tacky layer, especially near ranges. Do not jump directly to a coarse pad. Soften the soil only with a product approved for the specific finish and allow the stated dwell time. Work a hand-sized area, remove the loosened residue and inspect before continuing. If progress stops, check the care guide for a stronger approved option rather than borrowing an oven cleaner or solvent meant for another material. Appliance trim and coated stainless can react very differently from an uncoated sink.
Distinguish grease streaks from finish streaks
A grease film usually changes when a clean cloth crosses it and may feel slick. A finish change does not transfer. If the appliance looks streaky only after cleaning, the cause may be excess product, incomplete rinsing or wiping across the grain. Re-clean a small section with less product and dry it fully. If a dull or shiny patch stays fixed in place and has a different texture, stop treating it as grease. That difference may be abrasion or coating damage rather than remaining oil.
What to avoid on appliance stainless
Avoid steel wool and ordinary steel brushes because they can scratch and can leave iron particles that later rust. Avoid abrasive powders and coarse pads unless the appliance manufacturer specifically approves them. Chloride-containing products, strong acids and aggressive degreasers may stain, pit or attack nearby components. Do not use a stainless polishing product on a fingerprint-resistant coating unless the maker says it is compatible; some polishes can leave permanent unevenness on coated doors.
When to stop
Stop when the surface no longer feels oily and a clean cloth no longer picks up greasy residue. Also stop if the grain begins to look flatter, a patch becomes glossier or duller, color changes, or coating appears to lift. Repeated rubbing will not repair a coating that has already been altered. If a mark remains after the grease is gone, inspect it dry and use Damage vs Dirt to decide whether you are seeing corrosion, abrasion, heat discoloration or another non-cleaning issue.
Prevent the halo effect around handles
Handles and the area around them collect skin oils in addition to kitchen grease. Clean those contact zones during routine maintenance rather than waiting for a heavy film. Use a fresh cloth for the final dry pass so dissolved grease is not redeposited. If a cleaner leaves a visible halo, reduce the amount used and extend the final wipe slightly beyond the treated spot, always following the grain. The aim is an even finish rather than a highly polished isolated patch.
Keep moisture away from controls and seams
Refrigerator dispensers, range controls and dishwasher top edges have openings where liquid can reach electronics or adhesives. Spray onto the cloth, not into those features, and do not let cleaner pool along badges or trim. This is particularly important when degreasing a vertical door because solution can run downward. Work from top to bottom in controlled sections and dry edges as you go.
Decision summary
If grease transfers and the finish remains even, continue with the approved mild method. If the area is clean but streaked, simplify the process and remove product residue. If the dry surface itself has changed, stop cleaning and reassess the defect. The Fix Finder can route other stainless-steel problems such as water spots, rust transfer or sticker residue to a more specific method.
Document the result for future maintenance
After the area is clean and dry, record what worked for this remove grease stainless steel appliances case: the product used, dilution if relevant, contact time, tool and final dry appearance. That note gives you a reliable baseline the next time the same surface develops a mark and helps prevent needless escalation. It is especially useful when several household members clean the same area, because consistency protects finishes better than switching among stronger products. If the manufacturer later updates its care guidance, use the newer instruction and revise the routine rather than assuming an older method remains preferred.
Manage the transition between stainless and surrounding trim
Appliance doors often place stainless beside plastic caps, painted side panels, rubber gaskets, touch displays or adhesive badges. A degreaser that is acceptable on one zone may not belong on the next. Apply product to the cloth, work inward from the stainless area and dry the edge before liquid can wick underneath trim. Around a refrigerator gasket or range control, use less moisture and more cloth changes. This edge discipline prevents a simple grease-cleaning job from creating discoloration, loosened adhesive or moisture intrusion in a neighboring component.
If the final wipe still leaves rainbow or cloudy streaks
Persistent streaking often means too much product remains rather than that grease is still present. Use a clean cloth with the maker-approved rinse or finishing method, work with the grain and dry immediately. Compare a small re-cleaned section with the rest of the door. If the streak disappears, repeat the simplified finish step across the affected area. If it does not, stop adding cleaner and inspect for coating variation or abrasion. Product buildup should change with wiping; a damaged finish normally does not.
Aftercare for frequently touched appliance areas
Once the door is even and dry, return to a light routine instead of maintaining a heavy polish layer. Handles, dispenser surrounds and the lower part of oven or dishwasher doors benefit from frequent mild cleaning because thin oil films are easier to remove before dust bakes into them. Use dedicated clean cloths for the final pass, and wash those cloths without fabric products that leave oily residue. Consistent maintenance reduces the temptation to reach for stronger degreasers later.
Keep the cleaning routine finish-specific
If the appliance manufacturer distinguishes between coated and uncoated stainless, save that information with the model number or manual. Future cleaning is safer when everyone in the household knows which finish they are dealing with and which products were approved. That small record prevents accidental use of abrasive polish or an incompatible degreaser on a coated door.
Reference set verified 2026-09-16. Manufacturer/material-owner guidance prioritized; exact model, finish and product instructions take precedence.