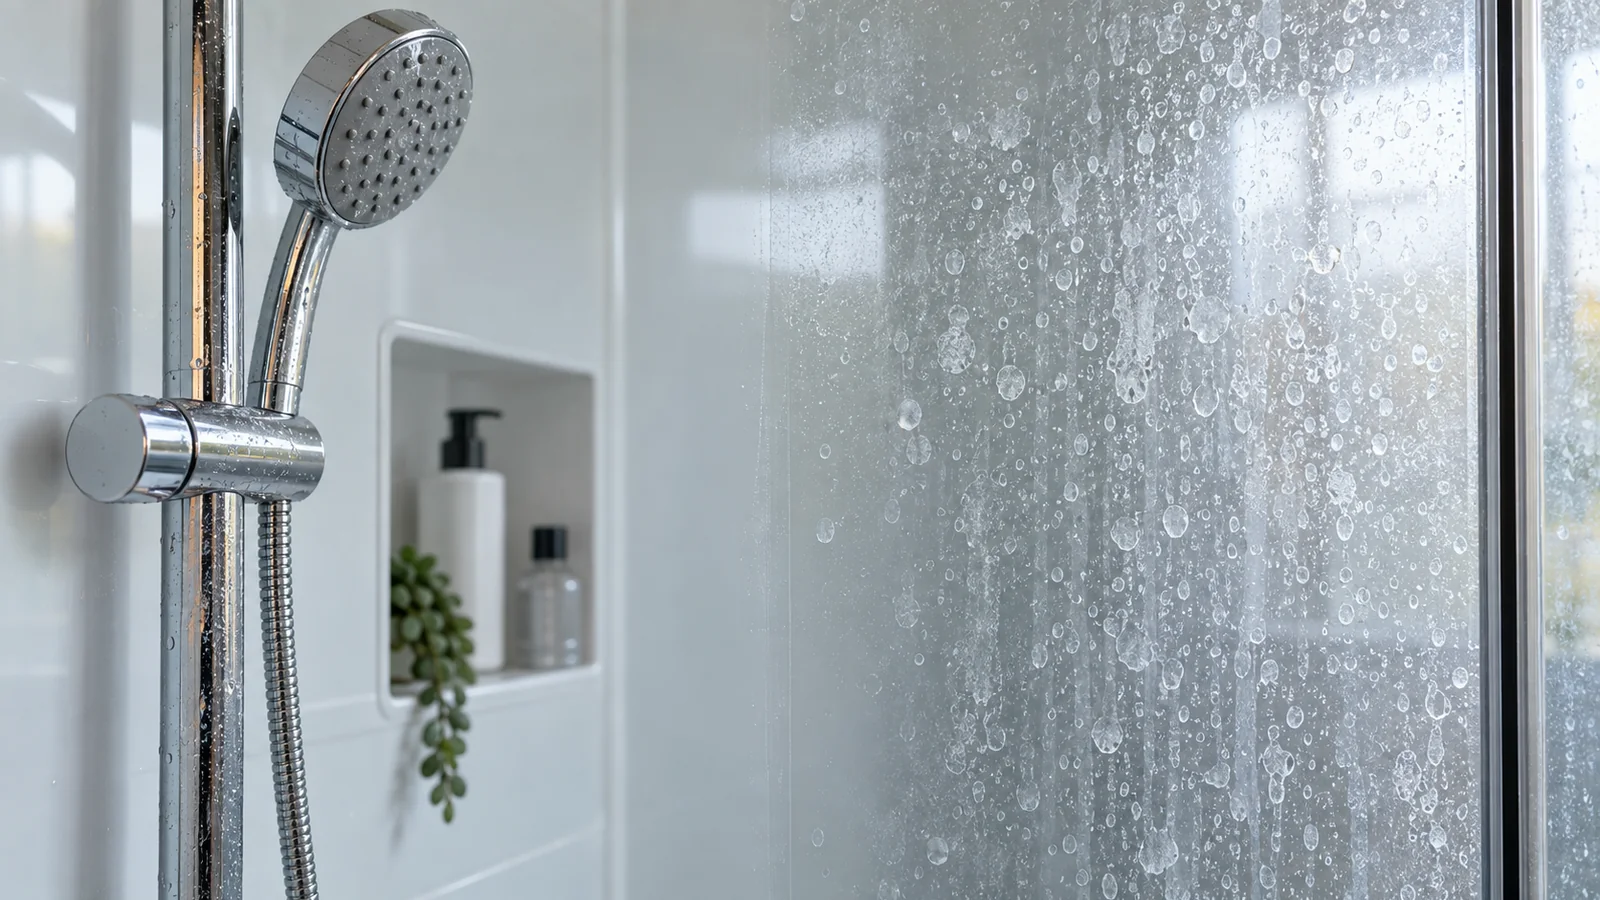
Start by confirming that the problem is mineral buildup
Hard-water marks form when droplets dry and leave calcium, magnesium and other dissolved minerals behind. On shower glass they often appear as cloudy spots, a chalky film or overlapping droplet outlines. Fresh deposits can usually be reduced with controlled cleaning. Older marks can be more difficult because repeated wet-dry cycles may leave a dense scale layer and, in some cases, the glass itself may have been chemically etched.
That distinction matters. If the glass still looks cloudy after the mineral layer has been removed, more scrubbing is not automatically the answer. Permanent etching is physical surface damage and cannot be cleaned away like ordinary scale.
What you need
- Two clean microfiber cloths
- A non-scratch sponge or soft pad approved for glass
- A mild glass-compatible mineral-deposit cleaner or diluted household acid only when compatible with surrounding materials
- Clean water for thorough rinsing
- A squeegee or dry microfiber cloth
Step-by-step: remove the deposits conservatively
1. Wash away ordinary soap and loose soil first
Mineral deposits are easier to judge when shampoo residue, body oils and ordinary dirt are gone. Use warm water and a mild compatible cleaner, rinse, then inspect the dry glass.
2. Test a small area
Work in an inconspicuous lower corner. If the shower glass has a factory-applied easy-clean coating, follow the enclosure manufacturer’s care instructions before using acidic or abrasive products.
3. Apply the mineral-removal treatment
Keep the treatment on the glass rather than spraying broadly across stone thresholds, grout, painted trim or specialty metal finishes. Allow only the contact time recommended for the chosen product. More dwell time is not automatically better.
4. Agitate gently
Use a soft non-scratch pad with light pressure. Work methodically rather than attacking one spot aggressively. Rinse and dry the test area so you can see whether the deposit is actually changing.
5. Repeat only when progress is visible
Several controlled passes are safer than one highly aggressive pass. If the appearance does not improve after the scale is gone, stop treating it as removable residue and consider the possibility of etching.
What not to do
Do not let acidic cleaner run onto marble, travertine or other acid-sensitive natural stone. Do not assume every shower door can be scraped with a razor, because coatings and films vary. Avoid coarse abrasive powders and improvised power-tool polishing unless you are deliberately undertaking glass restoration and understand the risks.
How to prevent the problem from coming back
With “How to Remove Hard Water Stains From Shower Glass,” treat the condition of the Shower Glass and the location of Hard Water on the Shower Door as the limits of the method. Avoid uncontrolled soaking, mixed chemicals, metal scraping and repeated heavy abrasion unless the care guidance for this exact material explicitly allows them. Escalate only one variable at a time so any improvement—or damage—has an obvious cause. For this Shower Door, preserving the finish is a better endpoint than chasing the last cosmetic trace with unnecessary force.
With “How to Remove Hard Water Stains From Shower Glass,” treat the condition of the Shower Glass and the location of Hard Water on the Shower Door as the limits of the method. Keep the treatment local and controlled. Remove loose debris first, use the least aggressive compatible step, clear away residue between passes and let the area dry before deciding what comes next. If the mark does not respond, reconsider the diagnosis rather than simply increasing force or dwell time. For this Shower Door, preserving the finish is a better endpoint than chasing the last cosmetic trace with unnecessary force.
When to stop and get professional help
In “How to Remove Hard Water Stains From Shower Glass,” the useful evidence comes from how Hard Water responds on this specific Shower Glass and Shower Door. When to stop is part of the fix: end the treatment if the material changes color, gloss, texture, edge condition or layer integrity, or when the remaining mark behaves like physical damage rather than residue. At that point the next decision is repair, refinishing, replacement or professional assessment—not stronger cleaning. That keeps the method tied to Hard Water on Shower Glass instead of turning a corrective step into a universal household recipe.
SurfaceFixLab bottom line
With “How to Remove Hard Water Stains From Shower Glass,” treat the condition of the Shower Glass and the location of Hard Water on the Shower Door as the limits of the method. Keep the treatment local and controlled. Remove loose debris first, use the least aggressive compatible step, clear away residue between passes and let the area dry before deciding what comes next. If the mark does not respond, reconsider the diagnosis rather than simply increasing force or dwell time. A small remaining cosmetic defect is preferable to creating a larger finish change on the Shower Glass.
How SurfaceFixLab evaluates this fix
In “How to Remove Hard Water Stains From Shower Glass,” the useful evidence comes from how Hard Water responds on this specific Shower Glass and Shower Door. Product-specific care information matters because coatings, sealers and factory finishes can change the limits of an otherwise familiar material. If the exact finish is unknown, use the more sensitive assumption until a small dried test shows no change in color, gloss or texture. A small remaining cosmetic defect is preferable to creating a larger finish change on the Shower Glass.
The decision point in “How to Remove Hard Water Stains From Shower Glass” is material-specific: protect the Shower Glass on the Shower Door while testing whether Hard Water is actually removable. Product-specific care information matters because coatings, sealers and factory finishes can change the limits of an otherwise familiar material. If the exact finish is unknown, use the more sensitive assumption until a small dried test shows no change in color, gloss or texture. A small remaining cosmetic defect is preferable to creating a larger finish change on the Shower Glass.
Before you begin: a five-minute surface check
In “How to Remove Hard Water Stains From Shower Glass,” the useful evidence comes from how Hard Water responds on this specific Shower Glass and Shower Door. Product-specific care information matters because coatings, sealers and factory finishes can change the limits of an otherwise familiar material. If the exact finish is unknown, use the more sensitive assumption until a small dried test shows no change in color, gloss or texture. A small remaining cosmetic defect is preferable to creating a larger finish change on the Shower Glass.
In “How to Remove Hard Water Stains From Shower Glass,” the useful evidence comes from how Hard Water responds on this specific Shower Glass and Shower Door. Avoid uncontrolled soaking, mixed chemicals, metal scraping and repeated heavy abrasion unless the care guidance for this exact material explicitly allows them. Escalate only one variable at a time so any improvement—or damage—has an obvious cause. A small remaining cosmetic defect is preferable to creating a larger finish change on the Shower Glass.
Use an escalation ladder instead of a single aggressive trick
The decision point in “How to Remove Hard Water Stains From Shower Glass” is material-specific: protect the Shower Glass on the Shower Door while testing whether Hard Water is actually removable. Product-specific care information matters because coatings, sealers and factory finishes can change the limits of an otherwise familiar material. If the exact finish is unknown, use the more sensitive assumption until a small dried test shows no change in color, gloss or texture. For this Shower Door, preserving the finish is a better endpoint than chasing the last cosmetic trace with unnecessary force.
In “How to Remove Hard Water Stains From Shower Glass,” the useful evidence comes from how Hard Water responds on this specific Shower Glass and Shower Door. When to stop is part of the fix: end the treatment if the material changes color, gloss, texture, edge condition or layer integrity, or when the remaining mark behaves like physical damage rather than residue. At that point the next decision is repair, refinishing, replacement or professional assessment—not stronger cleaning. If the mark stops behaving like removable Hard Water, return to diagnosis before changing tools or chemistry.
Know what success looks like
For “How to Remove Hard Water Stains From Shower Glass,” this part of the process should be judged against the Shower Glass on the Shower Door, not against a generic cleaning rule. When to stop is part of the fix: end the treatment if the material changes color, gloss, texture, edge condition or layer integrity, or when the remaining mark behaves like physical damage rather than residue. At that point the next decision is repair, refinishing, replacement or professional assessment—not stronger cleaning. A small remaining cosmetic defect is preferable to creating a larger finish change on the Shower Glass.
Aftercare matters
With “How to Remove Hard Water Stains From Shower Glass,” treat the condition of the Shower Glass and the location of Hard Water on the Shower Door as the limits of the method. Avoid uncontrolled soaking, mixed chemicals, metal scraping and repeated heavy abrasion unless the care guidance for this exact material explicitly allows them. Escalate only one variable at a time so any improvement—or damage—has an obvious cause. That keeps the method tied to Hard Water on Shower Glass instead of turning a corrective step into a universal household recipe.
How to tell buildup from etched glass
Mineral buildup usually has texture or visible spotting that changes when the surface is wet. Etching is different: the glass itself has been altered, so the cloudy appearance remains after removable deposits are gone. Before repeating an acidic or abrasive treatment, dry the glass completely and inspect it under angled light. If the surface feels smooth but still looks permanently hazy, more chemical dwell time may only increase risk without improving the result.
Factory-applied easy-clean coatings add another variable. KOHLER and Sterling, for example, advise avoiding abrasive cleaners on treated shower-door glass and emphasize routine drying with a squeegee. If you know the enclosure brand, check its care page before using a stronger descaler.
Choosing the mildest useful method
Begin with ordinary soil removal using mild detergent and water. This matters because soap film and body oils can make mineral deposits look worse and can interfere with the next cleaning step. After rinsing and drying, treat only the mineral layer that remains.
If a manufacturer-approved mineral-deposit cleaner is available for your enclosure, use it according to its label. If you use a household acid approach that the glass manufacturer permits, keep the contact time short, work on a small area, and protect nearby materials. Marble, travertine, limestone and some decorative metal finishes can be damaged by acids even when the glass itself tolerates them.
Working around frames, seals and coatings
Frameless doors still have hardware, seals and sometimes protective treatments. Do not assume that a product safe for plain glass is safe for anodized aluminum, matte-black hardware, plated trim, silicone seals or nearby stone. Apply cleaner to a cloth or pad when that gives you better control than broad spraying. Do not flood lower tracks or leave chemistry pooled against gaskets.
When repeated cleaning stops making sense
Two or three controlled passes that visibly reduce mineral scale can be reasonable. Repeating the same method without measurable improvement is not. Stop if the glass becomes more uniformly hazy, if a coating develops patchy sheen, if trim changes color, or if the surface appears etched. At that point the next step may be specialist glass restoration rather than more household cleaning.
Prevention that actually reduces buildup
The most effective prevention is mechanical: remove water before it dries. A squeegee after showering and a quick wipe of persistent droplets dramatically reduces the mineral load left on the glass. Ventilation helps the enclosure dry faster, but it does not replace wiping in hard-water areas. If spotting returns quickly, a water-quality solution may reduce maintenance more effectively than switching to a stronger cleaner.
Safety checkpoint for How to Remove Hard Water Stains From Shower Glass: Before you start, test the method on an inconspicuous part of the Shower Glass and let it dry. Avoid increasing chemical strength or abrasion if the Shower Door changes sheen, color or texture. When to stop: if Hard Water remains as a fixed physical change, switch to repair, replacement or professional guidance rather than continuing to clean. For prevention, return to normal material-safe care once the immediate problem is resolved.
Reference set reviewed 2026-09-16. Manufacturer or material-owner guidance is prioritized; exact finish/product instructions take precedence where they differ.