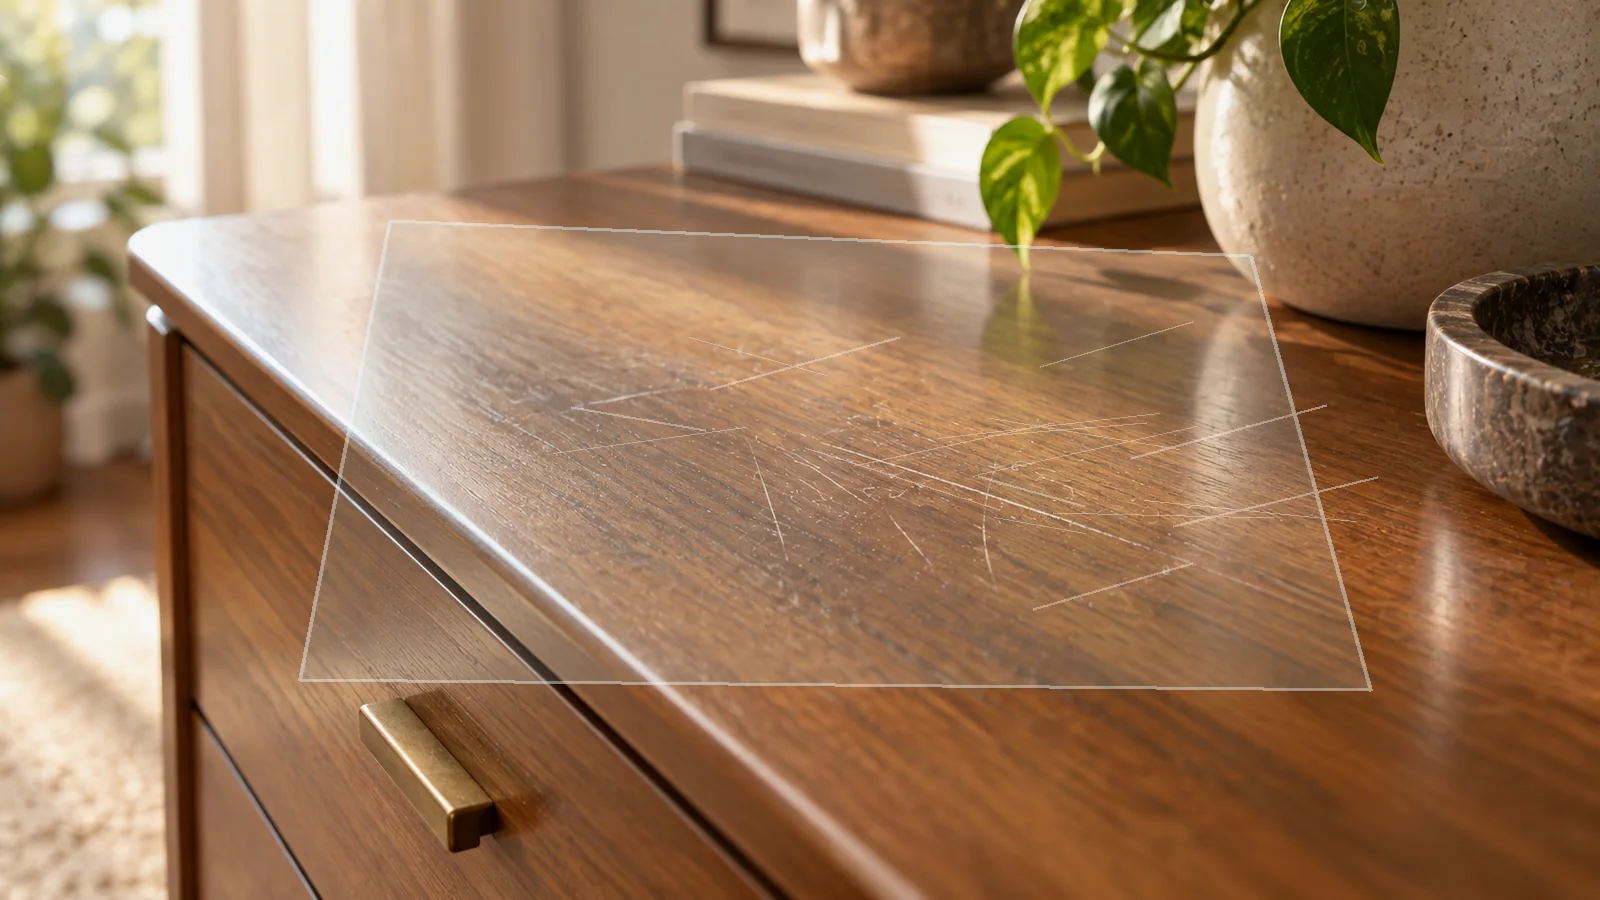
Light scratches in acrylic sheet can often be improved because the material can be polished, but the correct approach depends on scratch depth, sheet thickness, surface finish and whether the acrylic carries a coating. The goal is not simply to make the line disappear at any cost. An overly aggressive repair can create a larger distorted or hazy area that is more visible than the original scratch. Begin by identifying the sheet product and checking whether the manufacturer allows sanding or polishing for that specific acrylic and application.
Before you start: decide whether the scratch is truly superficial
Clean the sheet with an acrylic-safe method and inspect the line under bright side lighting. A light scratch may be visible but barely catches a fingernail. A deeper gouge has a definite edge, may show whitening, or can be felt clearly when a nail crosses it. Cracks radiating from holes, edges or fasteners are a different structural problem and should not be polished as if they were surface scratches. Mark the ends of the defect with removable tape so you can see whether the repair area is expanding.
Check for coatings before polishing
Some acrylic panels are hard-coated, anti-reflective, textured, printed or otherwise finished. Polishing through a coating can permanently create a different gloss or optical zone. If the sheet is part of a display, window, machine guard or specialty panel, find the product information before using abrasives. When the finish is unknown, test only at an inconspicuous edge or avoid abrasive correction. A technique appropriate for standard cast acrylic may not be suitable for every acrylic product sold for household or architectural use.
Start with cleaning and a dedicated acrylic polish
If the manufacturer permits polishing, begin with the least aggressive acrylic polish intended for fine marks. Work on a clean, grit-free surface using a soft applicator. Keep the repair zone broader than the scratch itself so you do not create a narrow shiny stripe. Use moderate, even strokes and inspect frequently rather than polishing continuously for a long time. Remove residue with a clean cloth and view the panel from the front and at an angle before deciding another pass is needed.
If sanding is allowed, control the entire sequence
Sanding should be reserved for products and scratch depths where the maker explicitly allows it. The principle is progressive refinement: remove only enough material to level the defect, then refine the sanding marks through progressively finer stages before polishing. Skipping grades can leave a cloudy zone that takes much longer to correct. Keep pressure even and avoid concentrating work on the center of the scratch. Heat from friction is also a concern, so do not use high-speed tools unless the acrylic system and tool manufacturer provide a compatible process.
Judge optical distortion, not only scratch visibility
On transparent acrylic, a repair can look acceptable when viewed straight on but distort reflections or objects behind the sheet. Step back and inspect through the panel from multiple angles. A shallow depression created by over-sanding can bend light even when the surface is glossy. For a display cover or window, optical flatness may matter more than eliminating every trace of a line. Stop if improving the scratch requires removing enough material to create visible waviness.
What to avoid
Avoid household scouring compounds, abrasive kitchen pads, steel wool and unapproved solvents. Do not use paper towels containing grit from previous cleaning, and do not polish a dusty panel. Avoid trying to “melt” a scratch with heat or solvent; uncontrolled chemical or thermal treatment can craze, warp or permanently haze acrylic. Power polishing can also generate heat quickly. If the manufacturer does not describe a power-tool method, hand correction is the safer starting point.
When to stop
Stop when the scratch has improved enough that further material removal would create more optical change than benefit. Stop immediately if crazing, whitening, heat distortion, a growing crack or a different surface gloss appears. A deep gouge, crack at a mounting hole or defect close to an edge may require replacement rather than cosmetic polishing. If the line remains visible but no longer catches the nail, the remaining appearance may be acceptable compared with the risk of further thinning.
Prevent new scratches during cleaning
Most fine acrylic scratching comes from wiping dirt across the surface. Rinse or blow away loose particles first, use clean soft microfiber cloths, and avoid dry dusting. Store sheets with protective film until installation when appropriate, and keep abrasive objects away from the face. For tabletop or display applications, use compatible pads under items that are moved repeatedly. Good routine handling usually prevents more damage than repeated polishing can correct.
Use the repair decision in context
If you are unsure whether a visible line is a removable transfer mark or an actual scratch, clean first and compare the dry surface. Transfer usually changes with cleaning; a scratch remains a physical line. The Damage vs Dirt page explains that distinction, and the Fix Finder can direct you to other material-specific routes when the panel is not standard acrylic.
Document the result for future maintenance
After the area is clean and dry, record what worked for this repair light scratches acrylic sheet case: the product used, dilution if relevant, contact time, tool and final dry appearance. That note gives you a reliable baseline the next time the same surface develops a mark and helps prevent needless escalation. It is especially useful when several household members clean the same area, because consistency protects finishes better than switching among stronger products. If the manufacturer later updates its care guidance, use the newer instruction and revise the routine rather than assuming an older method remains preferred.
Control the size of the repair zone
A common mistake is to chase the exact line with a fingertip-sized polishing area. That can create a localized lens or gloss patch. Instead, keep the correction zone broad enough to blend gradually into untouched acrylic and inspect the boundary often. On a transparent panel, place a straight object or printed grid behind the sheet and look through the repair area; bending or waviness in the image can reveal distortion before it becomes obvious in normal use. The visual standard for a display cover may be stricter than for an opaque decorative panel.
What to do if polishing improves clarity but not the line
If the surface becomes glossy yet the scratch remains, the defect may be deeper than the polish can level safely. Do not keep increasing polishing time indefinitely. Reassess scratch depth with a fingernail and side light, then compare the remaining line with the optical change already introduced. If sanding is not explicitly allowed for the product, accept the cosmetic limit or consider replacement. If sanding is allowed, plan the full grade progression before starting so you are not forced to improvise midway through the repair.
Aftercare following a successful correction
Remove all polishing residue with an acrylic-safe cleaner and a fresh soft cloth. Inspect edges and mounting points for stress marks before returning the sheet to service. Avoid immediately applying an unknown protective coating or household polish; it can change clarity or complicate later maintenance. Record the product and process used if the panel is part of equipment or furniture so future cleaning stays compatible with the corrected surface. The best outcome is a stable panel that can return to gentle routine cleaning.
Reference set verified 2026-09-16. Manufacturer/material-owner care guidance prioritized; exact model, finish and product instructions take precedence.