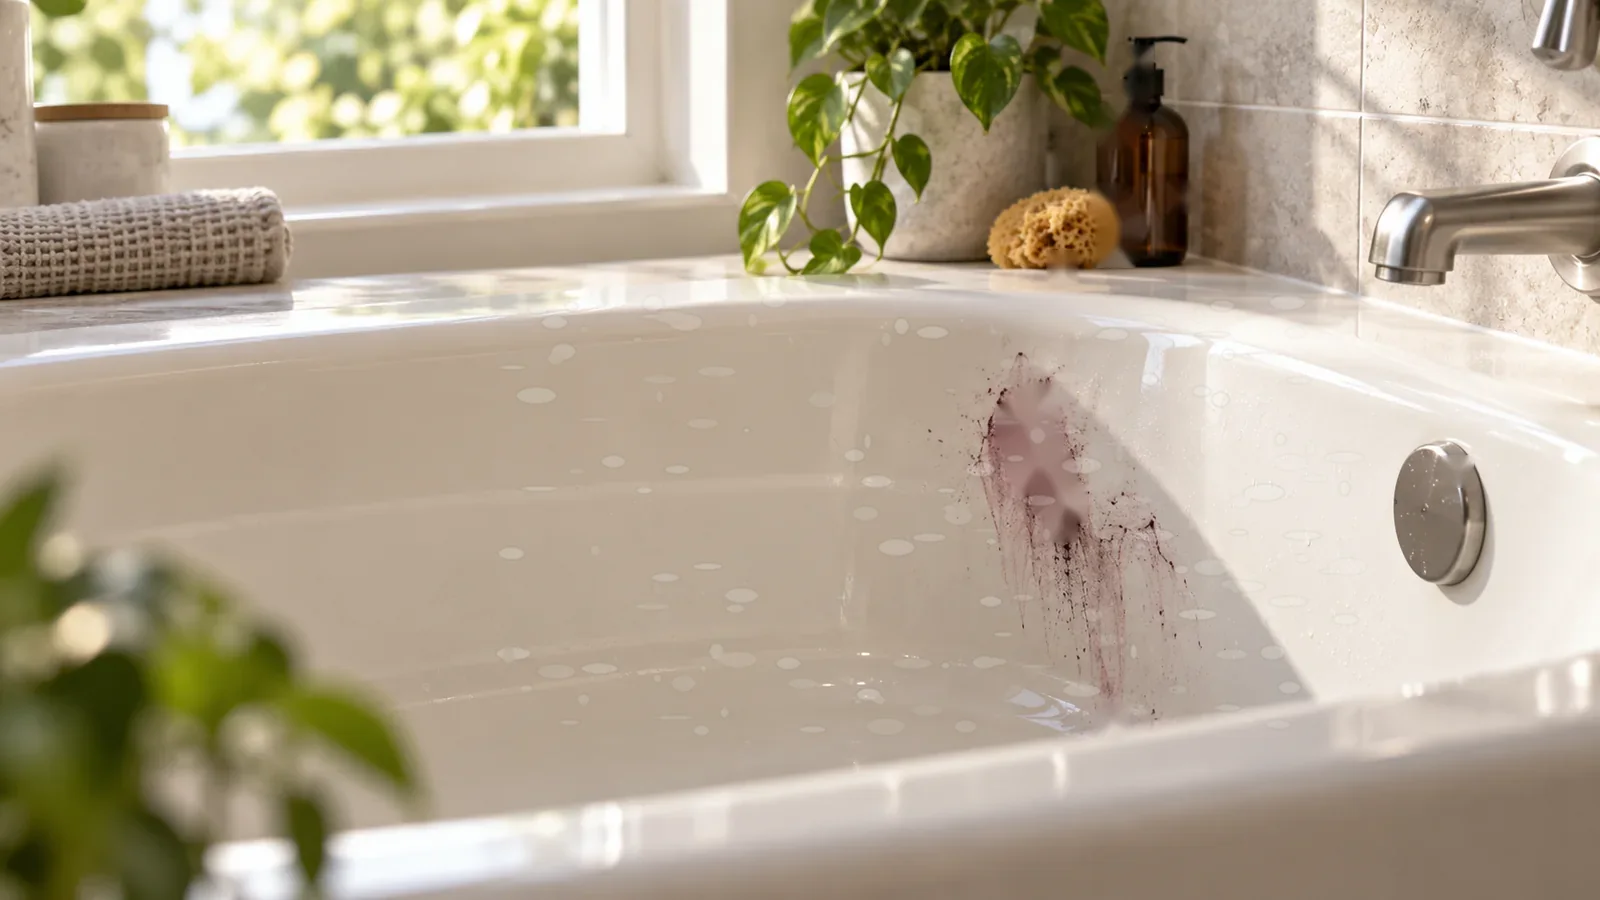
Remove soap scum from acrylic shower walls with a low-abrasion method that protects the glossy plastic surface.
Quick answer
The safest way to handle this problem is to identify the exact surface first, remove loose contamination, use the least aggressive method that the material maker allows, and reassess only after the area is clean and dry. SurfaceFixLab does not treat “stronger” as automatically “better”: the useful result is the one that removes the problem without creating a new change in gloss, color, texture, coating, seam integrity, or wear layer.
Why this surface needs its own method
Acrylic shower walls and bases are softer than glass, porcelain, and many ceramic finishes. That changes the cleaning strategy: abrasion that seems harmless on tile can leave visible haze or fine scratches on acrylic.
Begin by rinsing loose residue away, then use warm water, a soft cloth or non-abrasive sponge, and a cleaner that the fixture maker allows for acrylic. Keep dwell time controlled and rinse thoroughly.
Soap scum is a mixed film of soap residue, skin oils, and minerals. Thick deposits may need repeated gentle passes rather than a single aggressive scrub.
Do not use scouring pads, stiff brushes, razor blades, or abrasive powders unless the manufacturer of the exact fixture specifically approves them.
Before you start
Confirm the material and finish. Look for a model number, product label, installation record, or manufacturer care guide if one is available. A surface that looks like another material may behave very differently. Photograph the problem before treatment, improve lighting, and inspect from several angles so you can distinguish removable residue from scratches, etching, discoloration, coating failure, or structural damage.
Clear the work area and protect nearby materials. Keep separate clean cloths for cleaning, rinsing, and drying. If chemistry is involved, ventilate as directed on the product label and wear the personal protective equipment specified by the manufacturer. Never mix household cleaners.
What you need
- Clean, soft microfiber or other material-approved cloths
- Warm water where the surface maker permits it
- A routine cleaner approved for the exact surface
- A non-scratch sponge or soft brush only if the care guide allows one
- A plastic edge for residue lifting when appropriate
- Fresh rinse water and a dry towel
Avoid assembling an aggressive “cleaning arsenal” in advance. Start with the routine-care tools and add only what the diagnosis justifies.
Step-by-step method
- Remove loose grit. Dust, sand, and hard particles can turn a cloth into an abrasive. Vacuum, sweep, or rinse them away using a method safe for the surface.
- Test a hidden area. Apply the intended cleaner and tool to a small inconspicuous spot. Let it dry before judging compatibility.
- Work small. Treat a manageable area so the cleaner does not dry unexpectedly and so you can compare progress.
- Use light pressure first. Give chemistry and dwell time a chance to work before increasing mechanical force.
- Remove residue completely. Rinse or wipe away cleaner as directed. Remaining cleaner can leave haze, stickiness, or streaks that look like a failed repair.
- Dry and reassess. Many marks look different when wet. Judge the result only after the surface has returned to normal dryness.
How to escalate safely
If the first pass helps but does not finish the job, repeat the same low-risk method once before changing variables. If the first method does nothing, stop and reconsider the diagnosis. The next step should be a surface-specific change—such as a maker-approved spot cleaner, a different dwell time, or a gentler mechanical tool—not simply “more scrubbing.”
Keep stronger chemistry localized. Do not flood seams, joints, edges, caulk, or transitions between materials. When a manufacturer permits a solvent-type spot treatment, put a small amount on the cloth rather than pouring it directly on the surface, and remove it promptly after the residue releases.
What not to do
- Do not assume vinegar, bleach, ammonia, acetone, melamine foam, or abrasive powder is universally safe.
- Do not use metal scrapers on a finished household surface unless the material maker explicitly specifies that technique.
- Do not scrub harder when the remaining mark is actually a scratch, etch, dent, coating change, or discoloration.
- Do not extend product dwell time beyond label directions in an attempt to compensate for poor results.
- Do not combine cleaners or follow social-media “hacks” that ignore the surface manufacturer’s restrictions.
How to tell whether it is working
Progress should reduce the original residue or transfer without creating a new boundary in sheen, color, or texture. Use angled light and compare with an untreated area. A removable deposit often changes gradually over one or two controlled passes. Physical damage usually remains unchanged after the surface is clean.
If the treated area becomes duller, tackier, lighter, darker, rougher, or more reflective than the surrounding finish, stop. That change is evidence that the treatment is affecting the surface, not just the contamination.
When to stop and get help
Stop when the material identity is uncertain, the problem appears to extend below the surface, a coating begins to lift, a seam swells, a crack grows, or a scratch exposes a lower layer. Valuable finishes, specialty coatings, large damaged areas, and warranty-covered products are good reasons to contact the manufacturer, installer, fabricator, or a qualified restoration professional.
Professional help is also sensible when correcting the problem would require sanding, refinishing, recoloring, heat, or stronger solvents than the maker’s routine-care guidance permits.
Prevention and aftercare
Once the surface is restored, make recurrence harder. Remove spills promptly, keep abrasive grit away, use compatible mats or protectors where appropriate, dry wet areas, and follow the maintenance schedule for the actual material. Save the product name and care guide for future reference.
Prevention is especially important on finishes where repeated aggressive cleaning causes cumulative wear. Frequent light maintenance usually preserves appearance better than occasional heavy restoration.
Frequently asked questions
Should I test every cleaner?
Yes when the product is new to the surface, the finish is specialty or coated, or the material identity is uncertain. A small test cannot guarantee every outcome, but it can reveal immediate dulling, color change, softening, or residue before a large area is affected.
How many times should I repeat a method?
Usually one or two controlled passes are enough to determine whether the method is useful. Repeating an ineffective process many times increases exposure without improving the diagnosis.
Why does the mark still show after cleaning?
Because not every visible mark is removable soil. The remaining defect may be a scratch, etch, worn coating, dye transfer, heat damage, or a change below the surface. Once contamination is gone, switch from cleaning logic to repair logic.
Diagnosis: residue or damage?
Before escalating, run a simple diagnosis. First clean a small test area with the routine-care method and let it dry completely. If the mark becomes lighter, breaks into smaller patches, or transfers to the cloth, you are probably dealing with removable contamination. If the mark stays visually identical but feels smooth, it may be a color or gloss change. If you can feel a ridge, groove, lifted edge, softened film, or rough patch, the problem is more likely physical damage. That distinction matters because cleaning products cannot rebuild a worn coating or fill a scratch, while repair compounds are unnecessary and potentially harmful when the problem is only residue.
Also inspect the boundary of the mark. Deposits often have irregular edges, drip patterns, or a visible film. Abrasion and chemical damage may follow wiping patterns or appear as an even dull patch. Adhesive usually has a tacky edge or catches lint. Mineral buildup may feel slightly rough and can return in the same splash zones. Grease tends to smear or increase gloss before it is removed. These clues are not a substitute for manufacturer guidance, but they help you choose the correct branch of the process instead of repeating the wrong treatment.
Reference approach
This guide prioritizes manufacturer and material-owner care guidance. Exact product instructions, finish-specific restrictions, and warranty terms take precedence over generalized advice. The reference links below are stored with this guide so the editorial team can re-check them during future updates.
Reference set verified 2026-09-16. Manufacturer/material-owner care guidance prioritized; exact model, finish and product instructions take precedence.