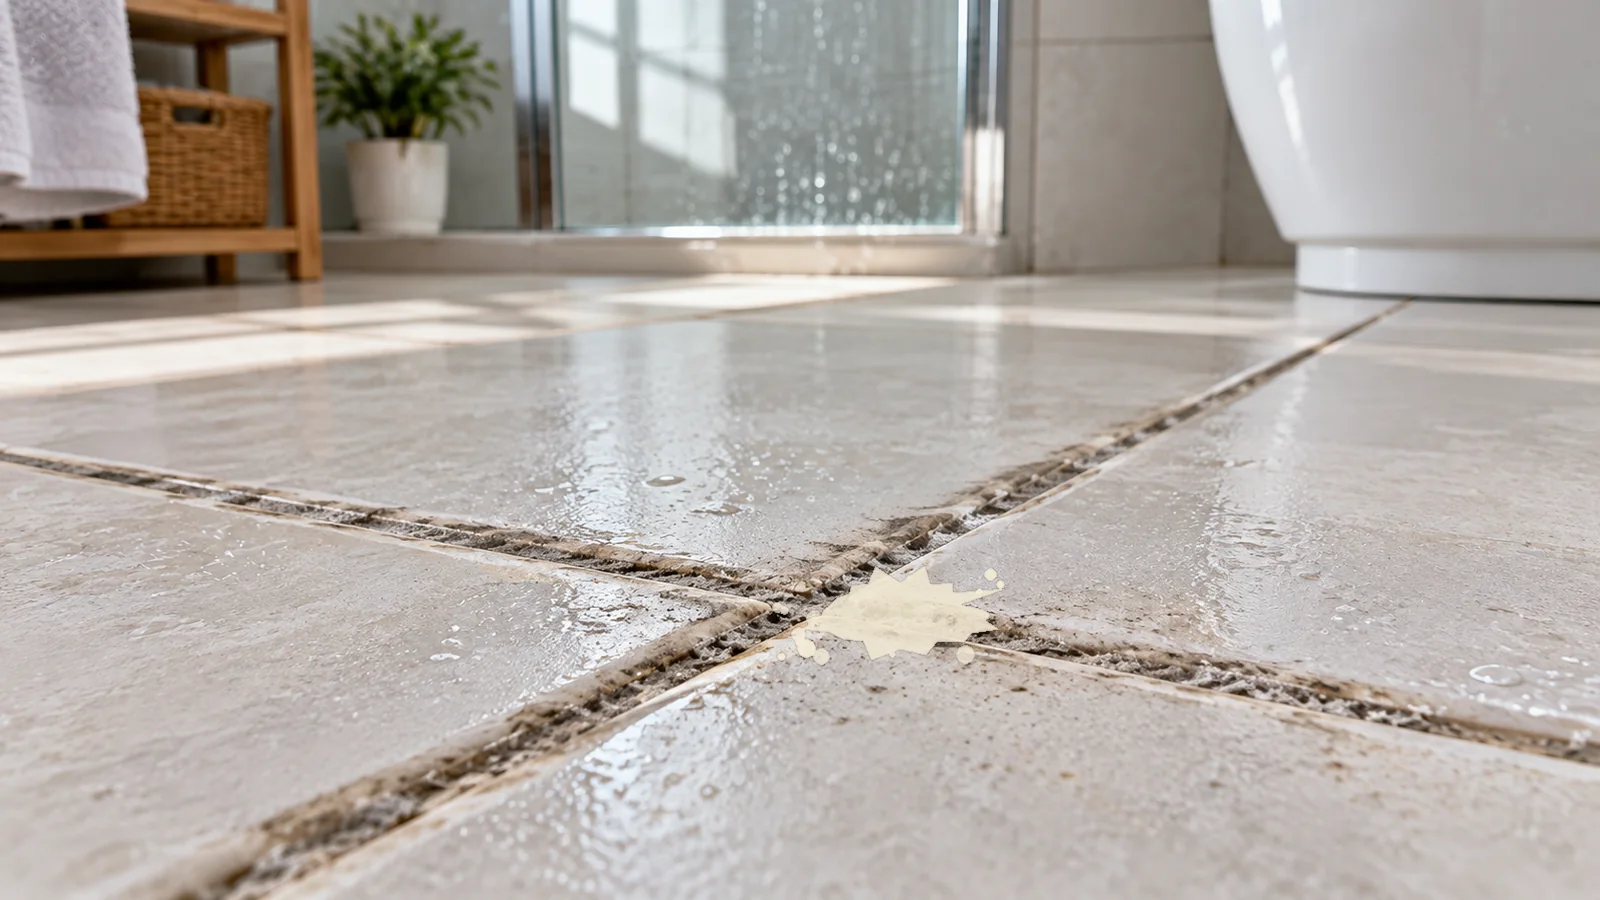
Candle wax on porcelain tile is usually a mechanical residue problem rather than a stain, but grout joints, textured tile and colored candle dyes can complicate cleanup. The safest sequence is to remove the bulk wax without scratching the glaze, then address any thin oily film or pigment separately. Porcelain is durable, yet metal blades, thermal shock and aggressive solvents can still damage adjacent grout, sealers or decorative finishes.
Before you start: map the spill across tile, grout and edges
Before you start, let hot wax cool until it is stable, then identify whether the spill sits only on the porcelain face or also reaches grout, sealant, wood trim or another adjoining material. Test your plastic lifting tool on an inconspicuous part of the tile if the finish is polished or decorative. Avoid sudden heating or cooling, metal scraping and solvent flooding at grout joints, and stop if glaze, grout or sealer begins to change.
Let the spill become stable before removing it
Do not smear hot wax across a larger area. Allow it to cool enough that it is no longer liquid and can be lifted in pieces. On floor tile, keep people from stepping through the spill while it cools. If the wax entered a grout joint, note whether the grout is sealed, cracked or soft before adding moisture or cleaner later.
Lift the bulk wax with a non-metal edge
Use a plastic scraper, old plastic card or another tool unlikely to scratch the tile. Keep the edge low to the surface and work under the wax rather than chopping downward. On textured porcelain, remove what releases easily and avoid forcing the tool into high points. A metal razor is not necessary for routine wax removal and can damage decorative or polished surfaces if used carelessly.
Use temperature changes cautiously
Cold can make wax more brittle, while gentle warmth can soften a thin residue, but avoid extreme temperature swings on tile. Do not pour boiling water onto a cold floor or hold intense heat in one small spot. If you use a wrapped cold pack, keep condensation controlled. If gentle warmth is needed, follow any tile or flooring-system guidance and protect nearby sealant and grout.
Remove the thin wax film after the bulk is gone
Once the raised wax is lifted, a translucent or greasy film may remain. Use a porcelain-compatible cleaner or mild detergent and a soft cloth. Work a small section, rinse and dry. If the tile is polished, compare sheen from different angles before increasing friction. The residual film should decrease with cleaning; a scratch or altered polish will not.
Colored candle wax can leave a second problem
Dye from strongly colored candles may remain after the wax itself is gone, especially in porous grout or microtexture. Treat that as a separate stain rather than continuing to scrape. Check the grout or tile manufacturer’s approved stain-removal guidance before using solvents or oxidizers. Keeping the problems separate prevents over-treating clean tile just because color remains in a joint.
Protect grout joints during cleanup
Wax can lodge below the tile face in cementitious grout. Avoid digging with a sharp point because that can gouge the joint. If the grout is cracked or crumbling, stop aggressive cleaning and plan repair. On sealed grout, confirm cleaner compatibility with the sealer. The tile face and grout line may need different methods even though the spill covers both.
What to avoid
Avoid steel wool, coarse abrasive pads, open flame, concentrated solvent mixtures and sudden thermal shock. Do not use a strong adhesive remover merely because both glue and wax are sticky residues. Wax responds well to controlled mechanical removal; unnecessary solvent exposure adds risk to grout, sealant and nearby finishes.
When to stop
Stop scraping once no raised wax can be felt. If a smooth discoloration remains, reassess it as dye, oily film or finish change. Stop if gloss changes, the tile scratches, grout begins to powder or a sealer becomes tacky. The Damage vs Dirt diagnostic can help determine whether a remaining mark is still removable residue.
Finish by cleaning a slightly wider area
After spot treatment, clean the neighboring tile with the same routine method so detergent or wax film does not leave a visible boundary. Rinse and dry. On floors, make sure the surface is not slippery before reopening the area. A successful repair should leave the tile ready for normal maintenance, not coated with polish or oily remover.
Prevent repeat wax spills
Use stable candle holders with a broad drip-catching base, especially on textured floors. Keep candles away from traffic paths where a bump can spread hot wax across multiple tiles. For decorative candles placed directly on a tiled hearth or counter, use a heat-safe tray that catches both wax and dye.
Route related residue problems correctly
Silicone, sticker adhesive, grout haze and candle wax may all appear as material sitting on tile, but they need different removal logic. Use the Fix Finder when the residue type is uncertain or when wax cleanup reveals a second problem beneath it.
Document unusual tile finishes
If the porcelain is polished, patterned, anti-slip, metallic-look or manufacturer-treated, keep a note of the product line and approved maintenance instructions. That information matters more than generic assumptions about “porcelain” when future spills require a stronger spot treatment.
Check whether the tile is glazed, polished or textured
Porcelain tile can have a smooth glazed face, a polished surface or pronounced anti-slip texture. Wax releases differently from each. Smooth glazed tile usually allows the cooled wax to lift in larger pieces, while textured tile traps small fragments in recesses. Match the plastic tool and wiping direction to the texture rather than trying to force one scraping angle across every finish.
Use absorbent material carefully around warm wax residue
If a manufacturer-approved method uses gentle warmth to soften a very thin wax film, keep the temperature controlled and use clean absorbent material so melted wax is lifted rather than spread. Do not place paper or cloth against a heat source in a way that creates a fire risk. The objective is slight softening, not reheating the spill to its original liquid state.
Inspect grout after the tile face is clean
Wax embedded in grout may become more noticeable only after the porcelain is restored. Examine joints from an angle and look for darkened or glossy sections. If the grout is intact, use a grout-compatible method for the residual wax or dye. If the joint is damaged, prioritize repair rather than aggressive digging that enlarges the defect.
Handle fragrance oil and candle additives as separate residue
Some candles contain fragrance oils, dyes or glitter that remain after the paraffin or soy wax is lifted. A slippery halo may therefore need mild detergent even when no wax is visible. Decorative particles should be picked up gently rather than ground across polished tile. Treat each leftover component according to what it is instead of continuing the mechanical wax-removal step.
Check slip resistance before the area returns to use
Even a nearly invisible wax film can make floor tile slippery. After cleaning and rinsing, dry the area and test traction cautiously with clean footwear. If it still feels slick, repeat the mild detergent rinse rather than applying polish. The final safety check is especially important in bathrooms, kitchens and entry areas where the tile may later become wet.
Do a final visual check under low-angle light
After the tile is dry, shine light across the surface to reveal thin wax smears that can disappear under overhead lighting. A leftover film often looks glossier than the surrounding tile. If you see one, use another mild detergent pass rather than returning to scraping. This check is especially helpful on polished porcelain, where a tiny residue layer can change reflections even when it is difficult to feel.
Keep cleaning products off nearby soft materials
Wax spills near baseboards, silicone joints or wood transitions may cross onto materials that tolerate different chemistry. Mask or wipe those edges separately rather than letting tile cleaner spread across them. Treat the porcelain first, then address the adjacent material with its own safe method.
Reference set verified 2026-09-16. Manufacturer/material-owner guidance prioritized; exact model, finish and product instructions take precedence.