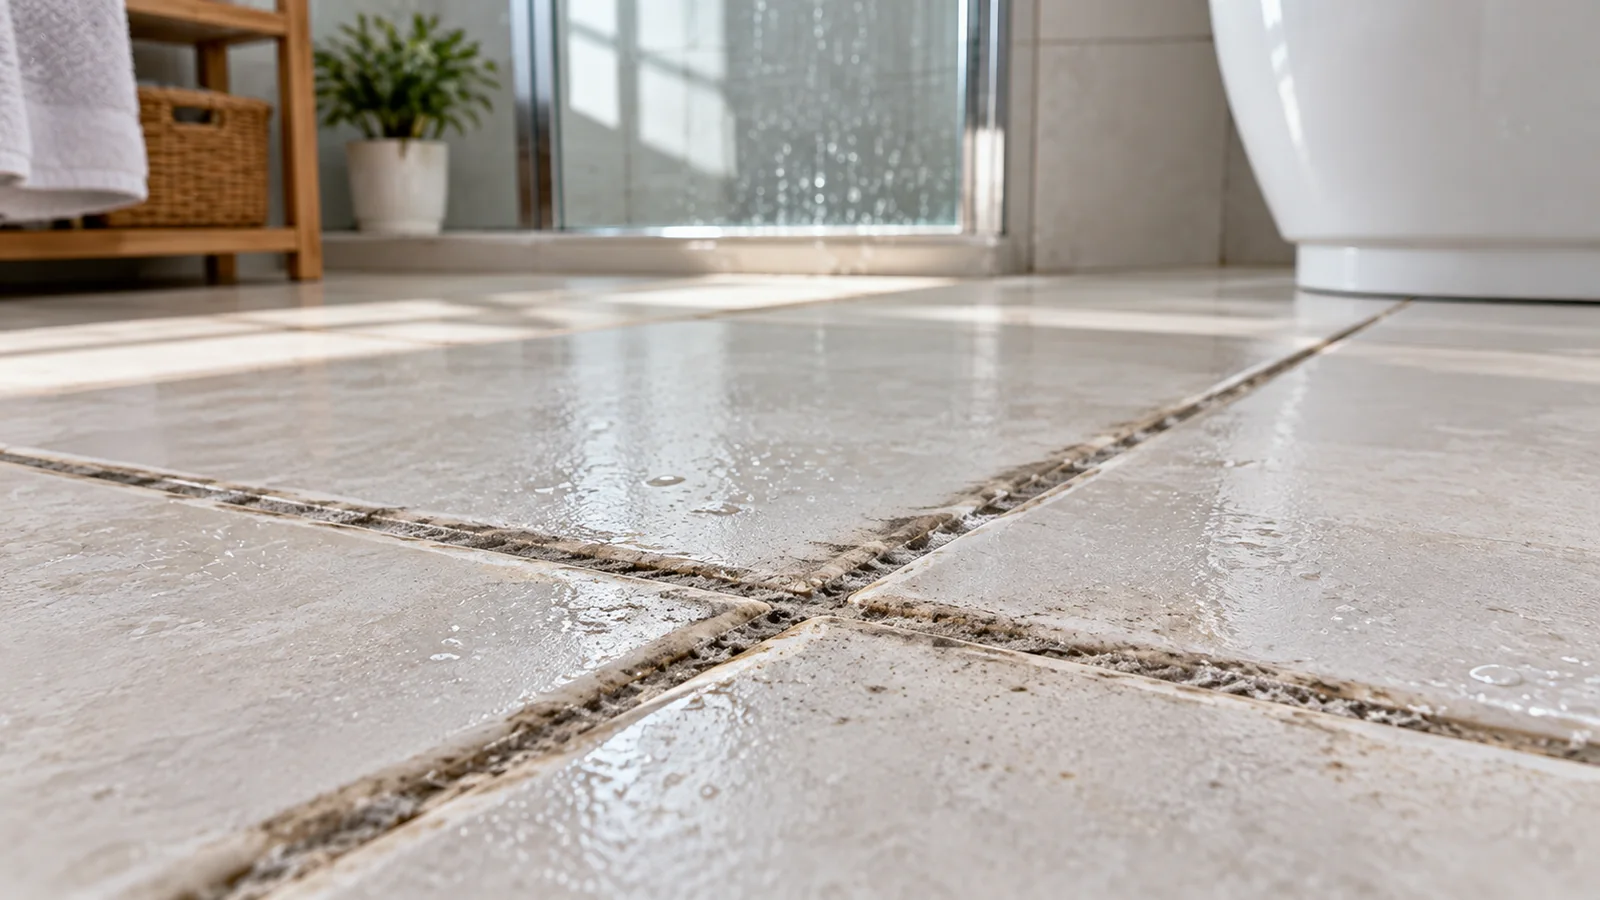
Dirty grout between porcelain tiles is often a mixture of tracked soil, detergent residue, body oils and moisture-related discoloration rather than one simple stain. The porcelain tile face is usually less absorbent than cement-based grout, so the joint often holds contamination that the tile releases easily. A good cleaning method treats the grout as the vulnerable material, keeps soil from being spread back across the tile, and recognizes when discoloration is no longer ordinary dirt but damaged grout, missing sealer or biological growth that needs a different response.
Before you start: identify the grout and surrounding installation
Check whether the joints are cementitious, epoxy or another specialty grout if you can. Look for sealer history, cracks, powdering, missing sections and soft caulk at changes of plane. Vacuum or sweep loose grit first. In a shower, rinse away loose soap before beginning. Test the chosen cleaner on a small joint because a product safe for dense porcelain may be too aggressive for grout, nearby natural-stone trim or metal fixtures.
Start by removing surface soil from tile and grout
Use the tile or grout manufacturer’s recommended neutral cleaner at the stated dilution. Apply enough solution to wet the working area without flooding it. Let it contact the soil for the allowed time, then agitate the grout line with a soft nylon grout brush. Work in manageable sections so loosened soil can be removed before the solution dries. Rinse with clean water and extract or wipe away the dirty liquid instead of simply moving it to the next joint.
Why grout can stay dark after the first pass
Cement grout has pores that can hold moisture and dissolved soil. A joint may look dark immediately after cleaning simply because it is wet. Let a test area dry completely before deciding that the cleaner failed. If the grout lightens substantially as it dries, repeat the same controlled method rather than escalating. If a dark area stays fixed and the grout is clean to the touch, consider staining, old sealer, moisture migration or material variation.
Treat soap film and mineral residue as separate layers
In bathrooms, soap scum can seal dirt onto grout while hard-water minerals leave pale crust at edges. Remove greasy soap film with a grout-compatible cleaning step first. Only then evaluate whether mineral scale remains. Acidic descalers can weaken cement grout or damage adjacent stone, so do not assume that a product suitable for porcelain tile is automatically suitable for the joint. Mixed-material installations should always be cleaned to the limits of the least tolerant material present.
Use stronger grout cleaners only when the grout maker allows them
If neutral cleaning does not remove embedded soil, consult the grout manufacturer’s maintenance guidance for an approved alkaline, oxygen-based or other specialty cleaner. Follow its dilution and dwell time rather than making a stronger mix. Keep ventilation appropriate to the product label and use the recommended protective equipment. Work a small area first and rinse thoroughly because cleaner left in porous grout can create residue, attract new soil or interfere with a later sealer.
What to avoid
Avoid metal brushes, wire wheels and aggressive scraping that can erode joints or scratch glazed edges. Do not mix bleach with acids or ammonia-containing products. Avoid repeatedly soaking a shower assembly in strong cleaner; grout is only one part of a system that also includes membranes, caulk and sealants. If the grout powders under light brushing, stop—mechanical cleaning is removing the joint itself rather than soil.
When to stop and reclassify the problem
Stop escalating when rinsed, dry grout no longer releases visible soil but the color remains uneven. Cracks, persistent wet-looking areas, efflorescence, missing grout or soft joints point to installation or moisture issues rather than ordinary cleaning. Mold-like discoloration that returns quickly may also require moisture-source correction. Use Damage vs Dirt if the visual difference remains after the joint is physically clean.
Sealer is not a substitute for cleaning
If the grout type is designed to be sealed, apply sealer only after the joint is clean, dry and prepared according to the sealer manufacturer. Sealing over soil locks the discoloration in place. Epoxy grout and some specialty grouts may not use the same sealing routine, so identify the material first. Keep sealer residue off porcelain faces unless the product instructions describe how to remove it.
Prevent fast re-soiling
Use the correct cleaner concentration during routine maintenance and rinse when required. Too much detergent can leave a tacky film that darkens grout again. In showers, improve ventilation and remove standing water; on floors, use entry mats and vacuum grit before wet cleaning. Repair failing caulk or cracked joints so repeated cleaning does not mask a water-management problem.
Use the right route for a different grout symptom
Rust staining, grout haze, soap scum and ordinary embedded dirt are separate problems even when they occur in the same joint. Do not keep applying the same cleaner to all of them. The Fix Finder can narrow the next step by both surface and problem, while the porcelain-tile hub can help with issues that are on the tile face rather than inside the grout.
Document the result for future maintenance
After the area is clean and dry, record what worked for this clean dirty grout porcelain tile case: the product used, dilution if relevant, contact time, tool and final dry appearance. That note gives you a reliable baseline the next time the same surface develops a mark and helps prevent needless escalation. It is especially useful when several household members clean the same area, because consistency protects finishes better than switching among stronger products. If the manufacturer later updates its care guidance, use the newer instruction and revise the routine rather than assuming an older method remains preferred.
Read the pattern of the discoloration
The shape of dirty grout can help identify the cause. Uniform darkening in traffic lanes often points to embedded soil, while isolated white crust can indicate mineral deposits and a dark joint that never dries may suggest moisture. Discoloration limited to the shower floor but not the wall can reflect slower drying and soap accumulation. Use that pattern before choosing a stronger cleaner. A product aimed at oily soil will not solve mineral efflorescence, and repeated chemical cleaning will not repair a cracked joint that is allowing water movement.
If grout cleans but quickly looks dirty again
Rapid re-soiling can come from detergent residue, worn sealer, roughened grout or a cleaning tool that is redistributing dirty water. Review the maintenance method before escalating chemistry. Use the correct dilution, remove the spent solution and rinse where required. If the grout type uses sealer, check whether the existing treatment is still performing only after the joint has dried. A freshly cleaned joint should not be sealed immediately just to darken or even its color; sealer selection and cure conditions matter.
Aftercare after a deeper grout clean
Allow the area to dry fully and inspect for cracks, pinholes or failed caulk that were hidden by soil. In a shower, restore ventilation and keep the enclosure open long enough for joints to dry after use. On floors, reduce abrasive grit with mats and dry soil removal before mopping. If the grout manufacturer recommends resealing, follow its preparation and cure instructions. A good deep clean should transition back to routine maintenance rather than requiring repeated aggressive brushing.
Reference set verified 2026-09-16. Manufacturer/material-owner care guidance prioritized; exact model, finish and product instructions take precedence.