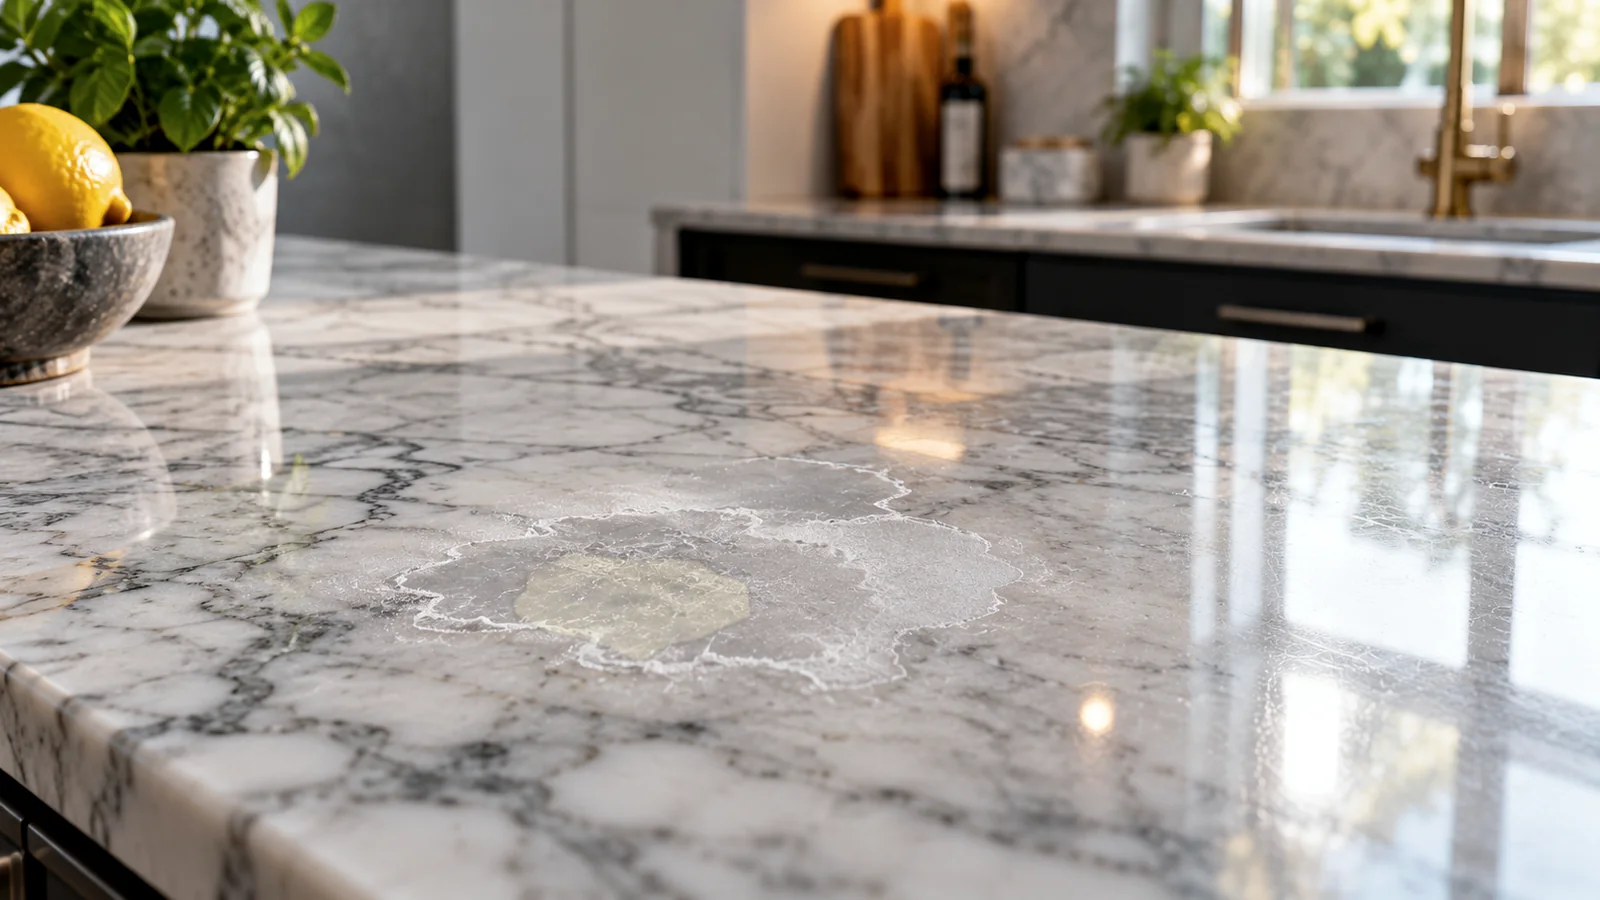
Adhesive residue may feel tacky, rubbery, brittle or glassy depending on whether it came from tape, a label, construction adhesive, silicone or cyanoacrylate. The residue type matters more than its color. Before using solvent, determine whether you are dealing with removable glue on top of the quartz or a change in sheen caused by previous scraping or chemical exposure. This guide is deliberately conservative because the safest result comes from correctly separating removable adhesive residue from a permanent change in the engineered quartz.
Before you start, check the maker’s care instructions when the brand or model is known. SurfaceFixLab treats those instructions as the first authority for a particular product. The steps below are a material-aware framework for countertop; they are not permission to override a warranty, use a chemical that the manufacturer prohibits, or keep escalating after the surface begins to change.
Before you start
Lift loose tape backing by hand and clean the surrounding countertop with warm water and mild soap. For a raised residue, a plastic scraper held nearly flat can remove thickness without putting a sharp metal edge against the surface. Work slowly from the edge toward the center so the adhesive is not smeared across a larger area. Photograph the area before cleaning and inspect it again only after it is completely dry. Wet surfaces can hide haze, color change and fine scratches, so judging the result too early can lead to unnecessary extra treatment.
Use clean white or light-colored cloths where practical. They make transferred soil, pigment or finish easier to see. Protect adjacent materials if they have different care requirements, and keep good ventilation whenever a labeled cleaning product calls for it. Because this guide is rated medium-high risk, a small test area is especially useful before treating the most visible part.
How to deal with adhesive residue on engineered quartz
After the bulk is removed, use the adhesive-removal approach listed by the quartz manufacturer. Some brands specify a dedicated silicone or resin cleaner, while others permit limited use of certain alcohol-based cleaners. Put product on a cloth when practical instead of flooding seams, allow only the recommended contact time, then rinse and dry the countertop. Judge progress by whether material is actually transferring or the mark is visibly shrinking after drying. More pressure is not the same thing as more cleaning power.
- Remove loose debris and any easily lifted residue without scratching the surface.
- Use the mildest compatible cleaning step and keep the work area small.
- Rinse or wipe away cleaner as the product instructions require, then dry fully.
- Reassess the mark in normal and side lighting before deciding whether a second pass is justified.
- Escalate only when the surface, finish and cleaner compatibility are known.
If the first pass does not work
Construction adhesive, cured silicone and super glue are different problems. A method that softens label gum may do nothing to a cured resin. If the residue sits beside a seam, backsplash joint or sink cutout, avoid soaking that area because solvent can reach adhesive that is part of the installation. For thick cured material, a fabricator is safer than repeated scraping. A useful escalation changes one variable at a time—product, dwell time, tool or technique—rather than combining several stronger tactics. That makes it easier to identify what worked and to stop before damage spreads.
If the mark has not changed at all after a correctly performed first pass, revisit the diagnosis. Many apparent stains are actually abrasion, etching, coating loss, swelling, corrosion or a residue that needs a different chemistry. The SurfaceFixLab Damage vs Dirt guide can help distinguish those categories before another cleaning attempt.
What to avoid
Do not default to acetone, paint stripper, methylene-chloride products or aggressive blades. Quartz brands differ in what they permit, and prolonged solvent exposure can affect resin-rich surfaces. Avoid abrasive scrub pads unless the care guide specifically approves the pad for that finish. Also avoid combining products unless their labels specifically instruct you to do so. Household chemicals can react with one another, and even products that are individually compatible with a material can become unsafe or unnecessarily aggressive when mixed.
When to stop cleaning
Stop when the residue no longer changes but the surface itself begins to look cloudy, polished or scratched. That is the transition from cleaning to damage. Also stop if the adhesive appears structural, bridges a seam, or is bonded into a repair; removing it may compromise the installation. The right stop point protects the original material. A perfect-looking result is not worth a larger patch of altered sheen, missing coating, softened grout, lifted dye or scratched finish.
Escalate to the manufacturer, installer or a specialist when the engineered quartz is expensive, difficult to replace, already damaged, or when the mark crosses seams, joints, edges or repairs. Those details can change the risk more than the size of the visible mark.
Prevention and aftercare
When applying tape or labels near quartz, choose low-residue products and remove them before heat and time harden the adhesive. During installation or craft work, protect the countertop with a removable barrier rather than relying on solvent cleanup afterward. After treatment, remove cleaner residue completely and allow the area to dry before judging color or sheen. Record which method worked so a future incident can be handled with less experimentation.
For recurring adhesive residue, address the source rather than repeatedly treating the symptom. Small changes in storage, drying, ventilation, protective pads or routine maintenance often reduce the need for stronger cleaning later and help the engineered quartz age more evenly.
Why SurfaceFixLab uses a material-first approach
The same-looking household mark can require a different response on another material. SurfaceFixLab starts with the engineered quartz, then asks what kind of change is actually present, then chooses the least aggressive method that has a reasonable chance of working. That order is more useful than a universal stain-removal trick because it builds the stop point into the process from the beginning.
If you are not certain that the surface is engineered quartz, use the Fix Finder only after checking the material as carefully as you can. A correct surface identification is part of the fix, not an administrative detail.
Questions to ask before a second attempt
For adhesive residue on engineered quartz, ask three questions before escalating: did the mark change after the mild method, did the surrounding finish stay unchanged, and is the suspected residue still sitting on top of the material? If the answer to the first question is no, or if the finish changed, repeating the same process with more force is unlikely to be the safest next step.
Also check whether temperature, moisture, age or prior products could be changing the appearance. A recently cleaned countertop can look temporarily darker or glossier while damp, and old polish or cleaner film can make a fresh mark look worse than it is. Give the area time to dry and compare it with a nearby section under the same lighting.
What a successful result looks like
A successful cleaning result does not always mean the area looks factory-new. The useful goal is to remove the removable adhesive residue without creating a new defect in the engineered quartz. If normal wear, a repaired edge, a color variation or a pre-existing scratch remains after the residue is gone, treat that as a separate condition instead of continuing to scrub the cleaned area.
When the result is acceptable, stop. Rinse or neutralize only as the product instructions require, dry the surface, and return to normal maintenance. Repeated treatment of an already-clean area is one of the easiest ways to turn a minor household problem into permanent finish damage.
Reference set verified 2026-09-16. Manufacturer/material-owner guidance prioritized; exact product, finish and warranty instructions take precedence.