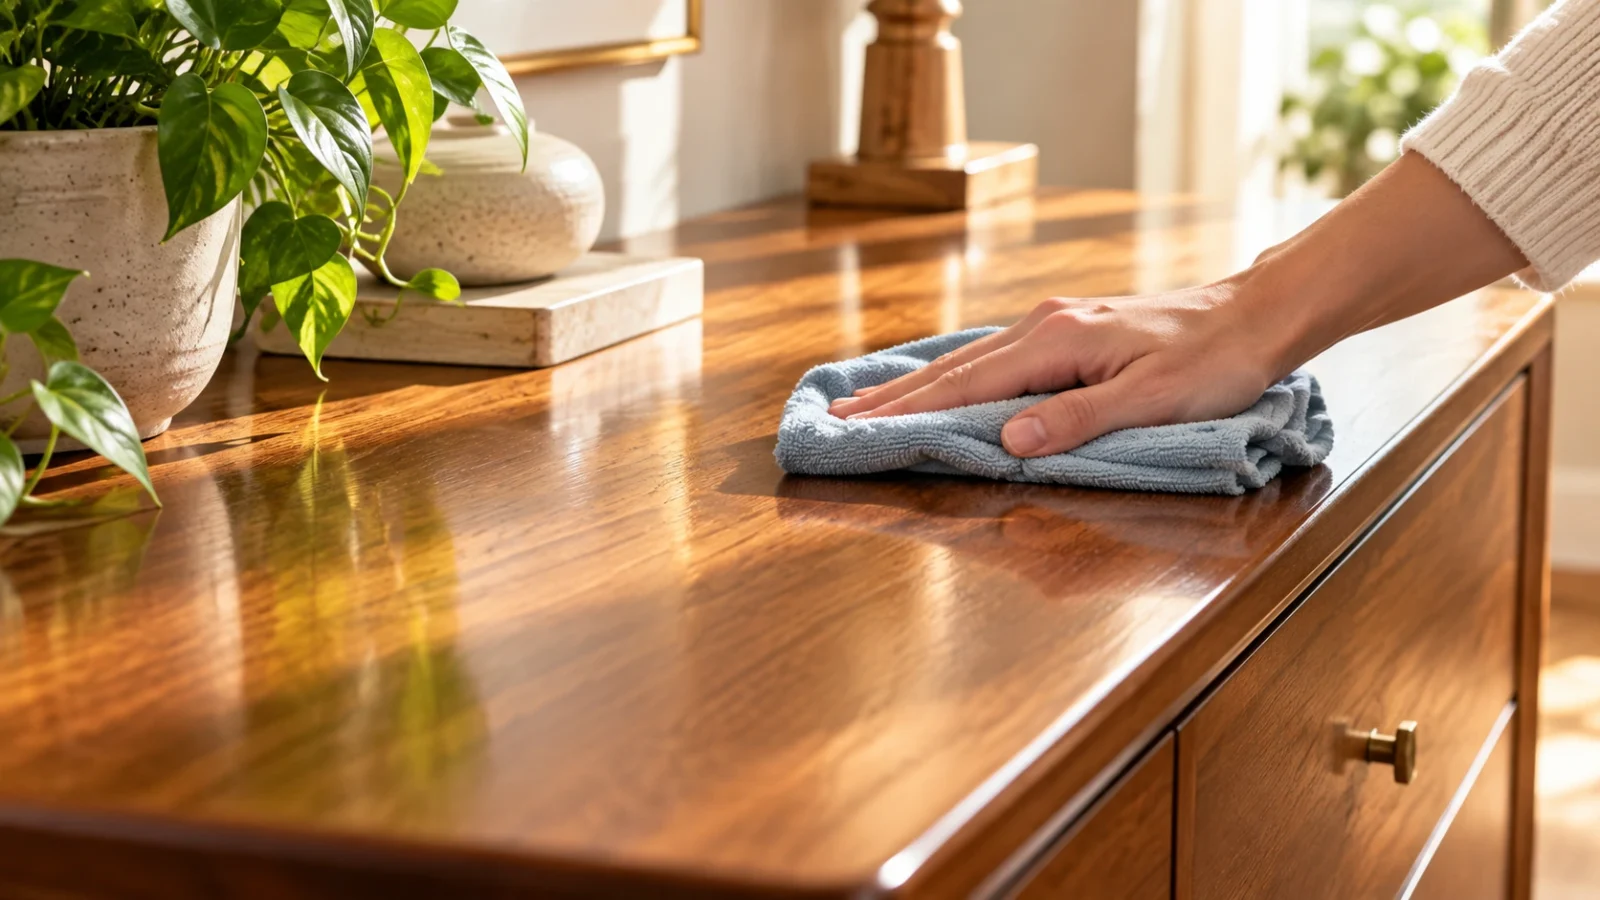
SurfaceFixLab quick answer: Clean varnished wood as a coated surface. Remove grit first, use very controlled moisture and a finish-compatible cleaner, and stop if the coating becomes cloudy, sticky or visibly duller. Routine cleaning should preserve the finish, not try to soak the wood below it.
Why this problem happens
Minwax distinguishes finished wood from waxed, oiled, shellacked and unfinished wood in its own maintenance guidance. Modern polyurethane, old varnish, shellac and wax may all look like ‘finished wood’ while responding differently to water, solvent and polish.
How to diagnose what you are seeing
- A greasy film in a kitchen usually needs repeated mild cleaning, not stripping chemistry.
- White haze can be cleaner residue, trapped moisture or finish change.
- Sticky or soft coating after a test is a stop signal, not an invitation to scrub harder.
- Fine lines visible under side light can be scratches rather than remaining dirt.
- Flaking, crazing or exposed wood moves the problem from cleaning into finish repair.
Before you start: set a safe baseline
Work from a clean, dry comparison area on the same wood whenever possible. Remove loose grit, note the original sheen and take a quick photo in side light. The purpose of this baseline is to distinguish routine care from a new appearance change created by cleaning. If the finish type, coating or material identity is uncertain, manufacturer guidance should take priority over a generic household method.
Keep the first test small and easy to reverse. Use the least aggressive compatible cleaner, shortest practical dwell time and softest tool likely to work on furniture / cabinet. Let the area dry fully before increasing strength, pressure or contact time.
Step 1: Remove dust and grit with a soft dry microfiber cloth or brush attachment before adding moisture
Remove dust and grit with a soft dry microfiber cloth or brush attachment before adding moisture.
After this step, pause and inspect the wood under normal room light. A successful pass should reduce the target problem without creating a new difference in gloss, color, texture or edge definition. If the surface changes while the original mark remains, stop escalating and return to diagnosis.
Step 2: Test a cleaner on an inconspicuous finished area and let it dry fully before comparing sheen
Test a cleaner on an inconspicuous finished area and let it dry fully before comparing sheen.
After this step, pause and inspect the wood under normal room light. A successful pass should reduce the target problem without creating a new difference in gloss, color, texture or edge definition. If the surface changes while the original mark remains, stop escalating and return to diagnosis.
Step 3: Work with a lightly damp cloth rather than spraying or soaking the furniture directly
Work with a lightly damp cloth rather than spraying or soaking the furniture directly.
After this step, pause and inspect the wood under normal room light. A successful pass should reduce the target problem without creating a new difference in gloss, color, texture or edge definition. If the surface changes while the original mark remains, stop escalating and return to diagnosis.
Step 4: Use repeated mild passes for grease, rotating to clean sections of cloth so dissolved soil is lifted away
Use repeated mild passes for grease, rotating to clean sections of cloth so dissolved soil is lifted away.
After this step, pause and inspect the wood under normal room light. A successful pass should reduce the target problem without creating a new difference in gloss, color, texture or edge definition. If the surface changes while the original mark remains, stop escalating and return to diagnosis.
Step 5: Dry the surface promptly, then reassess only after the finish returns to normal room conditions
Dry the surface promptly, then reassess only after the finish returns to normal room conditions.
After this step, pause and inspect the wood under normal room light. A successful pass should reduce the target problem without creating a new difference in gloss, color, texture or edge definition. If the surface changes while the original mark remains, stop escalating and return to diagnosis.
What not to do
- Flooding joints, veneer edges or damaged finish with water.
- Abrasive pads on a glossy varnish or polyurethane finish.
- Automatically adding wax or oily polish to a surface that was not maintained that way.
- Acetone, lacquer thinner or strong alcohol as routine cleaners for an unidentified finish.
How to evaluate the result after everything dries
Do not judge routine care on wood only while the area is wet. Water, solvent and cleaner residue can temporarily hide haze, darken material or change reflection. Let the treated area return to normal room conditions, then compare it with an untreated section nearby. If the original mark is gone but the finish now looks different, the cleaning step has started to alter the surface and should not be repeated automatically.
Use one-variable-at-a-time troubleshooting
If the first controlled attempt is not enough, change only one variable at a time: product, concentration, dwell time, cloth or mechanical action. That makes it possible to tell what actually helped on wood and prevents several incompatible methods from being stacked together. Stronger is not automatically more effective when the visible problem has been misclassified.
Document the surface before a stronger repair
Photograph the dry furniture / cabinet before moving to a more aggressive method. Include the affected area, surrounding unaffected finish, seams or joints and any nearby hardware. These photos are useful if you later need manufacturer support or a restoration professional, and they help reveal gradual changes that are easy to miss while working close to the surface.
Related SurfaceFixLab guidance
When DIY work should stop
Stop when the wood changes color, gloss, texture or feel; when a coating lifts or softens; when moisture appears to be entering a seam or substrate; or when the defect behaves like structural damage rather than removable routine care. Professional help is also sensible when a repair would require refinishing a large continuous area merely to blend one small spot.
Frequently asked questions
Can diluted dish soap be used?
It can be compatible with many durable finishes when used sparingly, but the exact coating and manufacturer guidance still matter.
Why does the surface look streaky afterward?
Excess cleaner, oily polish residue or incomplete drying are common causes.
Should I polish after every cleaning?
No. A clean intact finish does not automatically need another wax, oil or silicone layer.
Reference approach
This guide is built around manufacturer and material-owner care guidance for wood, then applies SurfaceFixLab’s conservative escalation model. Exact product labels, finish restrictions and warranty instructions take precedence over generalized advice, especially when a coated, specialty or previously repaired surface is involved.
Maintenance after the problem is solved
Once the furniture / cabinet is back to an even appearance, keep future maintenance simpler than the repair. Remove new routine care early, use tools that cannot scratch the wood, and avoid letting cleaner or rinse water dry into a new film. Routine care should preserve the finish rather than repeatedly renew it. If the same issue returns in the same location, investigate the source instead of treating each recurrence as an isolated cleaning event.
Reference set verified for the October 2026 editorial queue. Manufacturer/material-owner guidance prioritized; exact product, finish and label instructions take precedence.