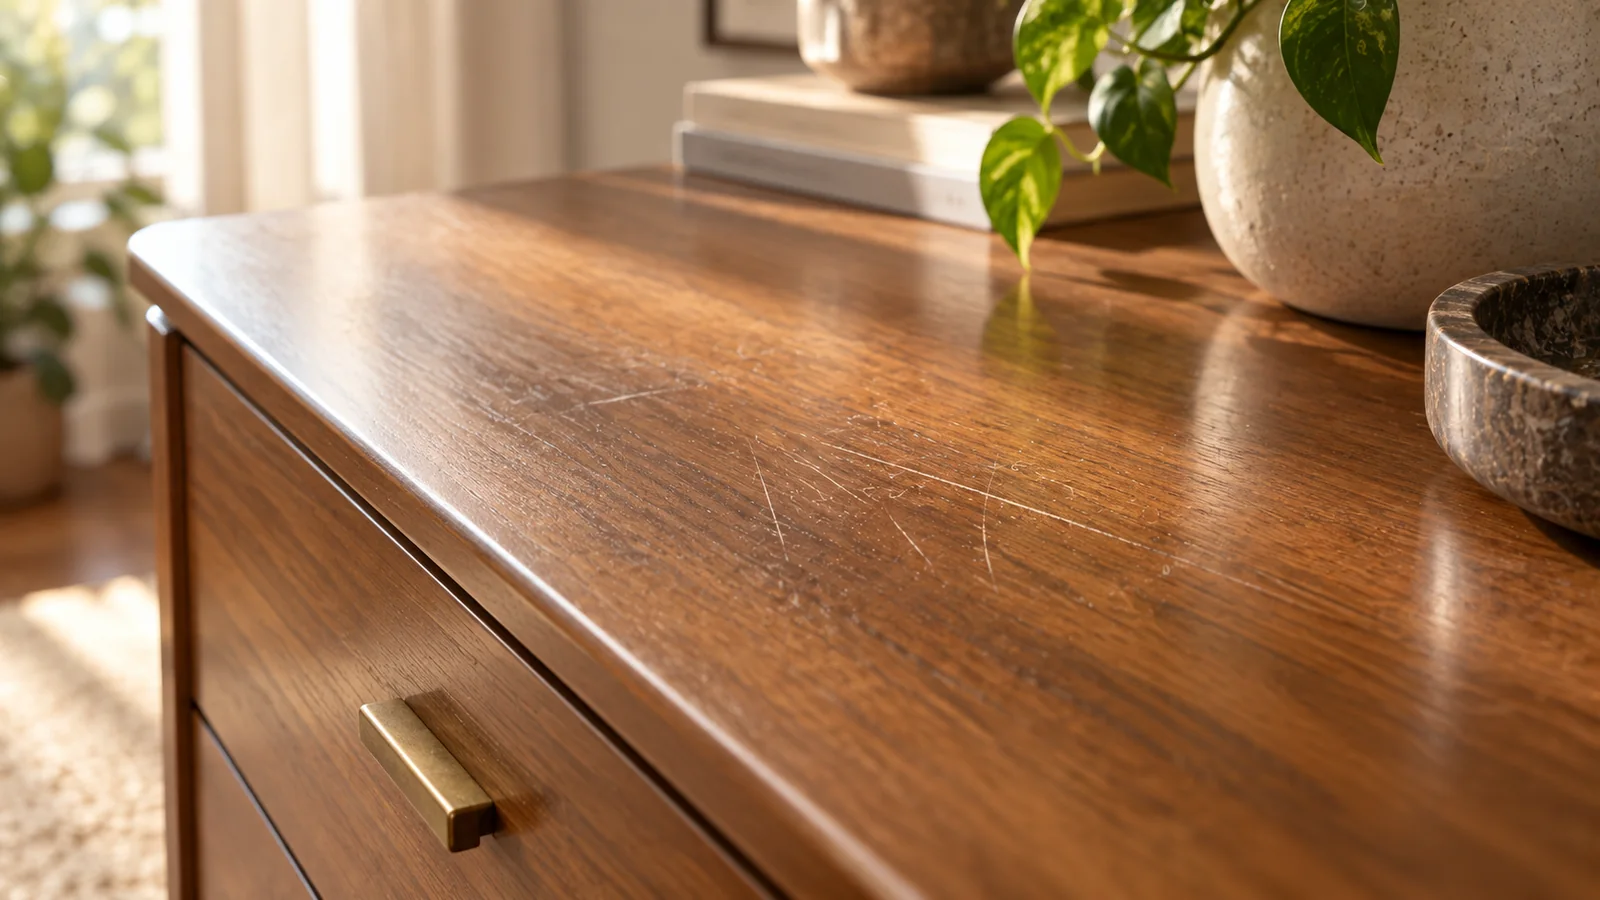
Cleaning wood furniture safely is mostly about protecting the finish, not washing the wood itself. A dining table, dresser or cabinet may be coated with lacquer, varnish, polyurethane, oil, wax or a factory finish, and those surfaces do not all tolerate moisture or solvents the same way. Start with dust removal and the least wet method that can address the soil. When the finish is unknown, restraint is more useful than a powerful cleaner.
Before you start: identify the finish before treating the wood
Before you start, determine whether you are cleaning bare wood, oil, wax, lacquer, varnish, polyurethane or another finished surface. Test a small hidden area with a barely damp cloth and let it dry before judging the result. Avoid flooding joints, veneer edges or end grain, and do not assume a cleaner labeled for “wood” is appropriate for every furniture finish. If the test changes gloss, color or texture, stop and use finish-specific guidance instead.
Identify what you can before adding moisture
Look for a manufacturer label, care sheet or product page. Note whether the surface is solid wood, veneer or engineered wood with a decorative finish. Inspect edges and corners for lifted veneer, worn coating or open joints. Existing damage changes the cleaning limit because liquid can travel under a compromised finish even when the broad top looks sealed.
Dust first with a clean soft cloth
Dry dust and grit should come off before any damp wiping. Use a microfiber cloth and lift particles rather than grinding them into the finish. For carved details, use a soft brush dedicated to furniture. This step reduces the chance that ordinary dust becomes a fine abrasive during later cleaning.
Use a barely damp method for ordinary fingerprints
If the manufacturer permits damp cleaning, use a soft cloth lightly moistened with water or the recommended mild solution. Wring it thoroughly so no droplets remain. Work in a small area, then dry immediately with a second cloth. The objective is to lift skin oil and light soil from the coating without leaving water sitting on seams, end grain or veneer edges.
Greasy buildup needs patience, not soaking
On kitchen furniture or frequently handled chair backs, grease can create a tacky film. Use only a finish-compatible cleaner and repeat short passes with fresh cloth surfaces as soil transfers. Avoid flooding the area to speed the process. If a finish becomes sticky under the cleaner, stop; the product may be softening an old coating rather than dissolving surface soil.
Distinguish dirt from finish wear
A clean finish can still look pale, cracked, cloudy or uneven. If the appearance does not change after gentle cleaning, it may be worn coating, moisture damage, sun fading or abrasion. A white ring, dark water stain or heat mark is a separate problem from routine soil. Use Damage vs Dirt before increasing chemistry on a mark that behaves like damage.
Be especially careful with veneer and edges
Veneer furniture can have very thin decorative wood over a substrate. Moisture entering a chipped edge or seam can cause swelling or lifting that cannot be cleaned away. Keep the cloth nearly dry around joints, inlays and damaged corners. Do not use steam or saturating sprays on furniture simply because the surface appears sealed.
What to avoid on an unknown wood finish
Avoid abrasive pads, scouring powders, strong alkalis, oven cleaner and improvised solvent mixtures. Do not use furniture oil or wax as a cleaner unless the finish is known to require it; added product can trap soil or create uneven sheen. Avoid placing a spray bottle directly over the furniture where overspray can settle into joints.
When to stop
Stop if color transfers from the finish, the surface turns tacky, gloss changes rapidly, veneer begins to lift or moisture darkens an edge and does not dry quickly. Also stop when ordinary soil is gone but the visible defect remains unchanged. Those signs point to finish or substrate damage, not a need for stronger cleaning.
Return the whole piece to an even appearance
After spot cleaning, wipe the surrounding section with the same approved routine method so one area does not look unnaturally fresh. Let the furniture dry fully before evaluating sheen. If the maker recommends polish, wax or oil as a maintenance step, apply it only after cleaning and according to the product schedule.
Prevent avoidable furniture damage
Use coasters, pads and trivets where moisture or heat is likely. Clean spills promptly without rubbing grit across the finish. Keep humidifiers, plant pots and wet glasses from sitting directly on wood. Regular dusting reduces the need for stronger cleaning later and helps you notice finish damage before it spreads.
Choose a more specific route when the mark has a name
Sticker residue, nail polish, water rings, heat marks and scratches each require a different decision process. Use the Fix Finder for a material-specific route instead of treating every visible defect as routine furniture cleaning.
Keep a simple care record for valuable pieces
If a cleaner proves safe on a known finish, record the product and method. That is especially useful for antique, custom or veneered furniture where experimentation carries more risk. If the finish is historically significant or already failing, professional conservation advice is preferable to escalating household chemistry.
Separate cleaning from restoration
Routine cleaning removes dust, fingerprints and removable grime; restoration addresses worn finish, scratches, fading or failed coating. Mixing those goals is one of the easiest ways to over-treat furniture. If the piece is clean but still looks tired, adding more cleaner is not restoration. Decide whether the next step is maintenance, finish repair or professional refinishing before applying oils, waxes or color products.
Watch for residue from previous furniture products
Old polish, silicone-containing sprays and wax can create streaky or sticky layers that behave differently from ordinary soil. If a cloth picks up a waxy film or the surface smears repeatedly, do not keep adding new product. Manufacturer guidance or a furniture specialist may be needed to identify a compatible way to remove buildup without stripping the underlying finish.
Humidity and sunlight can mimic cleaning problems
Seasonal movement, dry air and direct sun can change the appearance of wood furniture even when it is clean. Fading along a window-facing edge, small finish checks or veneer movement will not improve with detergent. Compare protected and exposed areas to understand whether the visual difference is environmental aging rather than dirt. That observation can save the finish from unnecessary wet cleaning.
Handle hardware and mixed materials independently
Drawer pulls, metal inlays, leather panels, glass tops and stone inserts may all sit on the same piece. A wood-safe cleaner is not automatically suitable for those materials. Put cleaner on the cloth rather than spraying across mixed surfaces, and detail around hardware carefully so liquid does not wick into screw holes or joints.
Create a low-risk routine for frequently touched areas
Chair backs, drawer fronts and table edges accumulate skin oils faster than the rest of the piece. Clean those zones more often with the mild approved method rather than allowing buildup to become tacky enough to require stronger treatment. Frequent light maintenance keeps the finish looking even and reduces the temptation to use aggressive degreasers later.
Test every new product on a hidden area
When a new cleaner is necessary, test it under a table edge, inside a door or in another inconspicuous place that uses the same finish. Let the spot dry completely before judging color, sheen and feel. A product can look harmless while wet and leave a dull or sticky patch after evaporation. Hidden testing is especially important when the furniture maker is unknown or the piece has been repaired before.
Respect cured finishes after cleaning
After damp cleaning, allow the piece to dry before covering it with placemats, books or decorative objects. Trapping residual moisture against a finish can recreate cloudiness or imprinting that looks like a new cleaning problem.
Reference set verified 2026-09-16. Manufacturer/material-owner guidance prioritized; exact model, finish and product instructions take precedence.