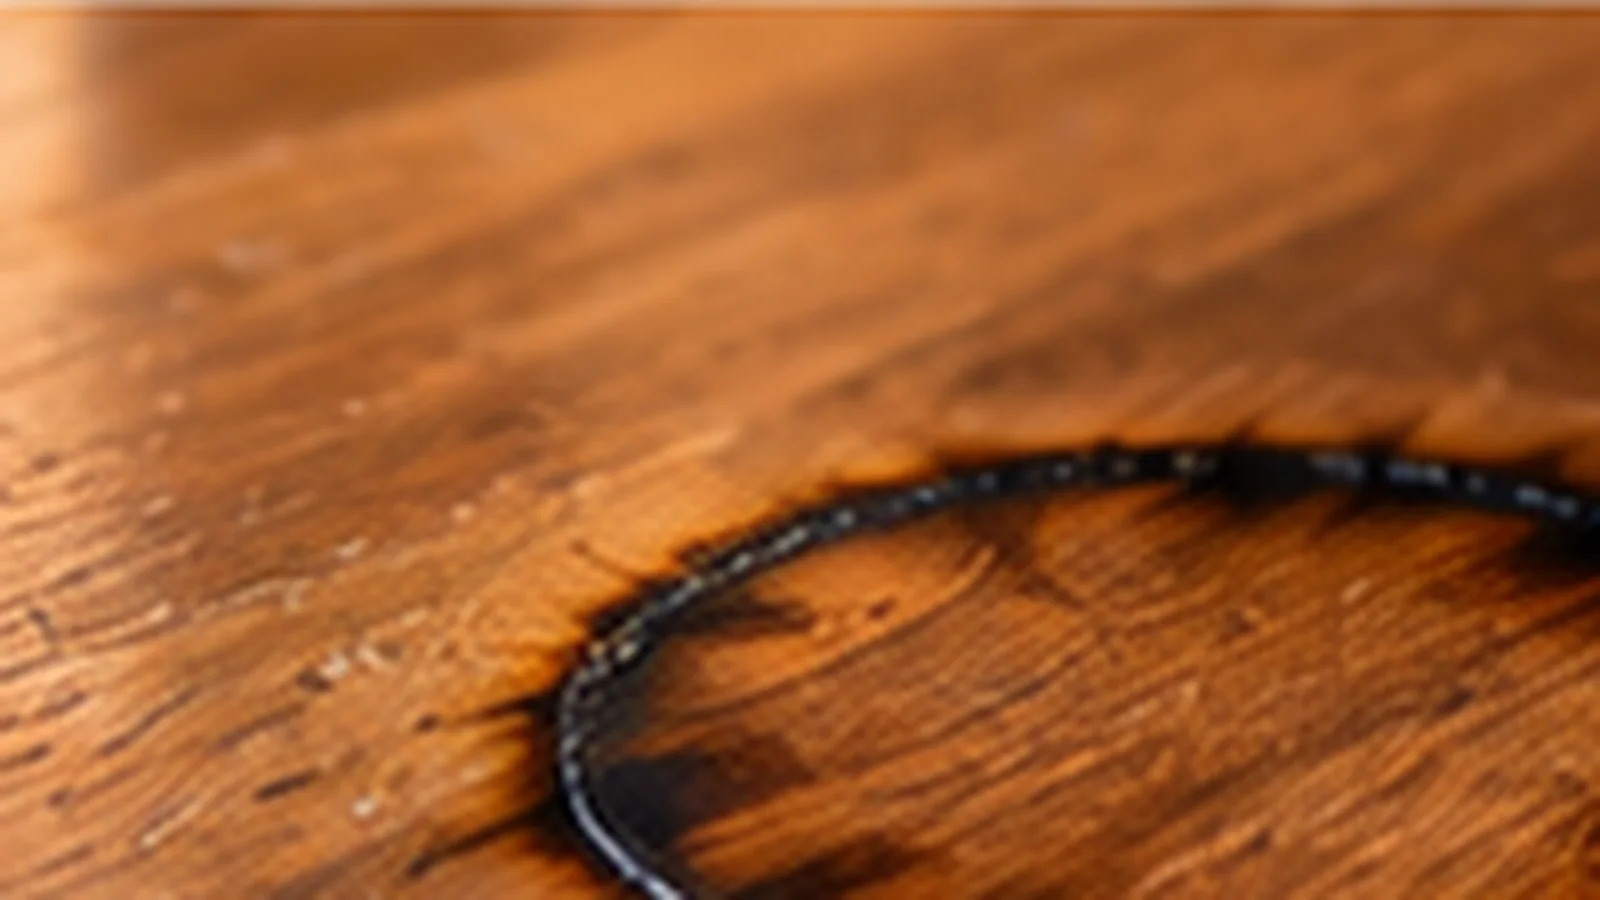
White heat marks on a wood table are often changes within or beneath a clear finish rather than dirt sitting on top. Heat and trapped moisture can make some finishes look milky or cloudy, which is why ordinary cleaner usually does little. Before trying a treatment, determine whether the mark is white and hazy, dark and scorched, or physically blistered. Those symptoms point to different levels of damage and different limits for DIY work.
Before you start: confirm the mark is in the finish, not the wood
Before you start, inspect the heat mark from several angles and compare it with an unaffected part of the tabletop. A pale or cloudy mark can be moisture trapped in a clear finish, while darkening, blistering, cracking or a rough surface points to deeper heat damage. Test any conservative method in a hidden area first, keep heat low and moving, and stop if the finish softens, becomes tacky or changes sheen.
Start by cleaning the surface gently
Remove dust and any food film with the furniture maker’s routine method, then let the area dry. This confirms that you are looking at a finish defect rather than residue. Do not scrub the white mark with abrasive cleaner. If the table has wax, polish or an unknown antique finish, note that before attempting heat or solvent-based remedies found online.
White haze and dark burns are not the same problem
A pale cloudy ring can indicate moisture trapped in a finish or a finish that has turned opaque after heat exposure. A dark brown or black mark can mean the finish or wood has been scorched. Blisters, cracks and rough texture indicate physical damage. A cleaning method cannot reverse charred wood, and aggressive rubbing on a white haze can make the surrounding sheen worse.
Check the furniture maker’s guidance first
Factory-finished tables sometimes have specific care and repair recommendations. Follow those before using household remedies. If the manufacturer offers a finish-repair process or recommends professional service, that guidance takes priority. Unknown finishes deserve extra caution because a treatment safe for polyurethane may harm shellac, lacquer or wax.
Use low-risk observation before any intervention
Inspect the mark from several angles and touch it lightly. If the surface is smooth and only the optical appearance changes, the issue may be within the clear finish. If a fingernail catches, if the coating is raised or if the wood fibers are exposed, the damage is structural enough that cleaning is no longer the right category. The Damage vs Dirt page can help frame that decision.
Be cautious with heat-based home remedies
Advice online often suggests an iron, hair dryer or hot cloth. Additional heat can soften, print, discolor or further cloud a finish, especially when the finish type is unknown. Do not apply direct high heat as a generic solution. If a manufacturer specifically documents a controlled method, follow its temperature, barrier and timing instructions rather than improvising.
Be equally cautious with oils and polishes
Oil, mayonnaise, wax and furniture polish can temporarily change how a white mark reflects light without actually repairing the finish. They can also complicate later refinishing or create a darker halo. Do not flood the area or assume a temporary cosmetic change proves the defect has been repaired. Clean off unintended residue with the finish-safe routine method.
When a professional repair makes more sense
Consider professional help for valuable furniture, antique finishes, large marks, dark burns, blistering or a finish that has already begun to flake. A refinisher can identify the coating and choose a compatible repair instead of layering unknown products. Localized finish repair may preserve more of the original surface than broad sanding or stripping.
When to stop DIY attempts
Stop if gloss changes around the mark, the finish becomes soft or sticky, color transfers to the cloth, or the white area expands. Stop immediately if you expose bare wood. Also stop after one cautious method fails to produce meaningful improvement; repeated unrelated remedies make the final repair harder to predict.
Prevent new heat marks
Use trivets that create a real thermal barrier rather than a thin decorative mat. Keep hot cookware, pizza boxes, laptops and heat-producing appliances off finished wood. Wipe condensation under mugs and serving dishes before it remains trapped beneath a warm object. Prevention is much easier than matching an altered furniture finish.
Related wood-table problems need different routes
White water rings, nail polish, scratches and adhesive residue are not variations of the same problem. If the symptom differs from a heat haze, use the Fix Finder to select the specific surface/problem combination. That avoids repeating a heat-mark remedy on a chemical stain or scratch.
Document the finish before repair
Take clear photos in natural and side light before any intervention, especially if the piece may go to a refinisher later. Record products already tried. That history helps distinguish original heat damage from changes caused by treatment and gives a professional a better basis for deciding whether spot repair, finish reflow or refinishing is appropriate.
Consider the age and history of the finish
A recent factory finish and a decades-old restored table should not be treated as equivalent. Older coatings may have been repaired, waxed or partially refinished in the past, making their response to heat and moisture less predictable. If you do not know the finish history, avoid experimental heat, alcohol or solvent methods. The value of preserving the existing finish can exceed the benefit of making a pale mark slightly less visible.
Use reflected light to map the damaged zone
Move a lamp or stand near a window and observe how the mark changes as light moves across the surface. A cloudy finish often scatters reflected light while leaving the surface physically smooth. Raised blisters or depressions produce shadows and texture. Mapping the actual boundary helps you avoid treating a much larger area than necessary and gives you a clear before-and-after reference.
Do not sand a white mark as a first response
Sanding removes finish thickness and can expose stain or bare wood long before the pale haze is corrected. Even very fine abrasives can create a larger dull patch that requires blending across the tabletop. Mechanical leveling belongs to an identified repair process, not to exploratory cleaning. If the coating is intact but cloudy, diagnosis should come before material removal.
Match repair ambition to the furniture value
On inexpensive furniture, a small cosmetic mark may be acceptable compared with the risk of a broad DIY refinish. On heirloom or high-value pieces, professional spot repair can preserve original material and color. Decide what outcome is necessary before intervening; “perfectly invisible” may require refinishing beyond the affected spot, while “stable and less noticeable” may need much less work.
After any successful improvement, stop
A common mistake is continuing because the mark is 80 percent better and chasing the final difference. Each additional treatment increases the chance of changing sheen or color around the repaired area. Once the table is visually acceptable under normal room lighting, allow the finish to rest and reassess later rather than applying another remedy immediately.
Allow time between cautious attempts
Finish changes can continue to look different while a surface cools or dries. Do not stack multiple remedies into one session. After any approved intervention, leave the table undisturbed long enough to return to room conditions, then reassess in daylight. Waiting provides better evidence than immediately adding another treatment and makes it easier to identify which step helped or caused a new change.
Protect the repaired area during future use
If the mark improves, do not immediately place hot dishes or damp objects back on the same zone. Give the finish time to stabilize and use a proper trivet afterward. If the area remains visually weaker than its surroundings, treat it as more vulnerable until the finish is professionally assessed.
Reference set verified 2026-09-16. Manufacturer/material-owner guidance prioritized; exact model, finish and product instructions take precedence.