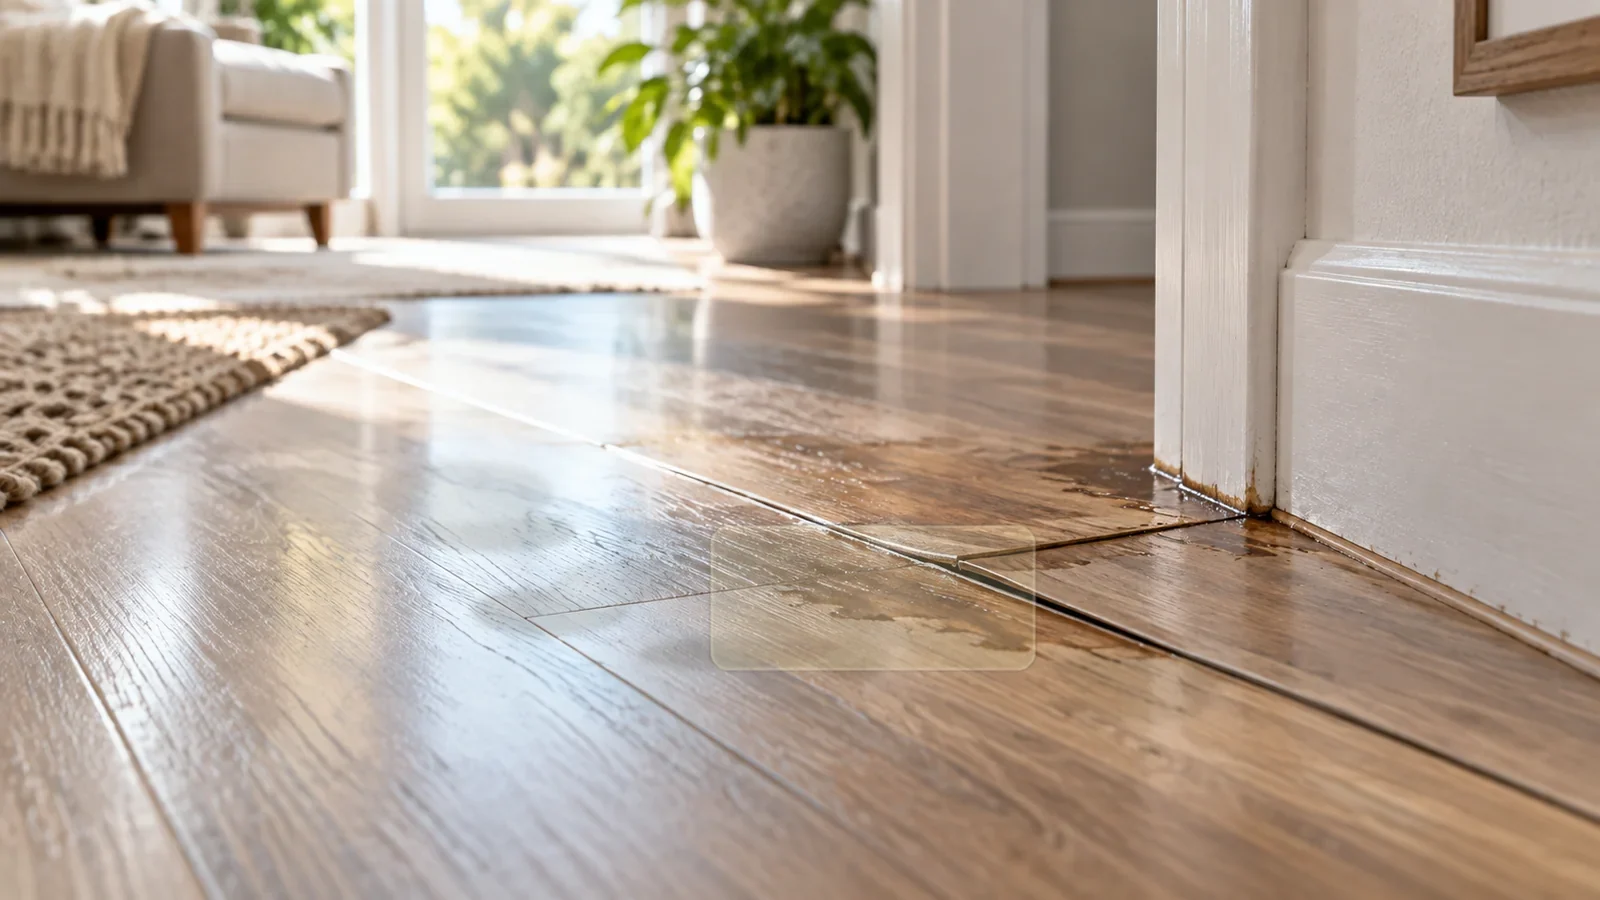
Remove adhesive residue from vinyl flooring without softening the wear layer, spreading glue into seams or using a solvent that the floor manufacturer does not permit. This guide uses the SurfaceFixLab surface-first approach: identify the material and finish, remove loose contamination, begin with the least aggressive useful method, and inspect the surface dry before escalating. The goal is not simply to make the mark disappear; it is to solve the problem without replacing it with dulling, swelling, scratches, coating damage or an unnecessary repair.
Before you start
Confirm the surface as closely as you can. Product labels, model numbers, installation paperwork and manufacturer care pages are more reliable than appearance alone. Two surfaces that look similar can have very different chemistry or construction. If the finish is unknown, recently refinished, antique, damaged or under warranty, treat that uncertainty as part of the risk. Applied to How to Remove Adhesive Residue From Vinyl Flooring Safely, this checkpoint should be read material-first: protect the Vinyl / LVP and change only one variable at a time while assessing Adhesive Residue.
Prepare good lighting, clean water, several clean white or colorfast cloths, and only the tools required for the first low-risk step. Remove grit before rubbing. Keep the work area ventilated when a product label calls for it, use the protective equipment specified by the cleaner or solvent manufacturer, and keep children and pets away until the area is clean, dry and aired out. For this guide, the practical constraint is the Vinyl / LVP on the Floor, so escalation should stop before treating Adhesive Residue begins to alter the finish.
Identify what kind of adhesive you are dealing with
Sticker adhesive, tape residue, installation adhesive and construction adhesive behave differently. Fresh installation residue may have a manufacturer-specified cleanup method, while an unknown old adhesive needs a conservative test. Do not assume that a solvent listed for one glue is appropriate for every vinyl finish.
Remove dry bulk first
If the residue is thick, try lifting it with a plastic scraper held low to the floor. Work slowly so you do not gouge the wear layer or push glue into a plank bevel. Vacuum or pick up loose fragments before adding cleaner.
Use floor-manufacturer guidance for chemistry
Vinyl and LVP products vary in wear-layer chemistry. Mohawk emphasizes simple maintenance for luxury vinyl, while Shaw installation documents specify certain cleanup methods for adhesive residue in defined product contexts. Use the guidance for your exact floor when possible.
Control solvent contact
If a compatible solvent is required, put a small amount on a white cloth rather than pouring it on the floor. Work only on the residue and keep liquid away from seams. Wipe the area with the floor maker’s normal cleaning method afterward so solvent and dissolved adhesive do not remain.
Protect seams and edges
Floating LVP and click vinyl rely on joints that should not be flooded. Excess liquid can carry dissolved adhesive into bevels and leave dark lines or sticky residue. Dry the floor promptly after treatment.
What to avoid
Avoid metal blades, coarse scrub pads, steam and unknown citrus or petroleum solvents unless the flooring manufacturer approves them. Do not mix adhesive removers with other cleaners. Strong chemistry can haze, soften or discolor a resilient wear layer.
Stop conditions
Stop if the finish becomes tacky, color transfers to the cloth, the surface whitens, a plank edge curls or the sheen changes. Once the wear layer is chemically altered, more solvent usually makes the problem worse.
When professional help is sensible
Large areas of construction adhesive, widespread installation residue or glue beneath loose flooring are not ordinary spot-cleaning problems. A flooring professional can determine whether the issue is surface residue or an installation failure.
A practical diagnosis checklist for this vinyl / lvp problem
Before choosing a stronger step, answer four questions. First, is the unwanted mark sitting on top of the surface, or has the material itself changed? Second, is the visible finish original, coated, refinished or repaired? Third, is the defect isolated to a small spot, or does it cross an edge, seam, joint or bonded layer? Fourth, has the problem changed after the mild cleaning step? Those answers matter because cleaning, cosmetic repair and structural repair are different tasks even when they begin with the same visible symptom. Applied to How to Remove Adhesive Residue From Vinyl Flooring Safely, this checkpoint should be read material-first: protect the Vinyl / LVP and change only one variable at a time while assessing Adhesive Residue.
Touch and angle-light inspection can be more useful than color alone. Raised material often suggests residue that can be lifted. A smooth but permanently cloudy area can indicate finish change. A line that catches a fingernail may be physical damage rather than transfer. Swelling, lifting, softness or movement at a joint points below the visible surface. If you are unsure, take a clear photo before treatment and compare after the area has dried; this reduces the temptation to keep escalating because a wet surface temporarily looks better. For this guide, the practical constraint is the Vinyl / LVP on the Floor, so escalation should stop before treating Adhesive Residue begins to alter the finish.
Also note what caused the problem and how long it has been present. A fresh spill can behave differently from residue that has cured for weeks. Repeated exposure may have already changed the finish, especially around water, heat, dyes, solvents or abrasive contact. The safest process is therefore diagnosis first, conservative treatment second, and only then a decision about whether a stronger step is justified. In this specific case, preserve the Vinyl / LVP on the Floor rather than chasing the final trace of Adhesive Residue with stronger chemistry or abrasion.
One change at a time
Do not combine scraping, heat, solvent and abrasive cleaning in a single attempt. If the result changes, you need to know which step caused it. Use one method, remove its residue, let the area return to a normal dry condition and inspect before moving on. This also makes it easier to stop at the first sign of incompatibility and gives you a cleaner baseline if you later need manufacturer support or professional repair. Here, judge the result against the surrounding Vinyl / LVP on the Floor; reducing Adhesive Residue is useful only while color, sheen and texture remain unchanged.
What you may need
- Clean microfiber or other manufacturer-approved soft cloths
- A non-scratch sponge or plastic edge where the method calls for it
- Mild detergent and clean rinse water
- A surface-compatible specialty cleaner or repair product only when the conservative step is not enough
- Disposable gloves or other PPE required by the product label
You do not need every item on this list. Using more products at once does not make the repair more effective. SurfaceFixLab prefers a short escalation ladder because it makes it easier to see which step worked and to stop before the finish changes. In this specific case, preserve the Vinyl / LVP on the Floor rather than chasing the final trace of Adhesive Residue with stronger chemistry or abrasion.
How to inspect the result
Remove residues as directed, dry the area and view it under normal room light from more than one angle. Wet surfaces often hide haze, swelling and sheen changes. Compare the treated area with the surrounding material. A good result should reduce the original problem without creating a new visual boundary, roughness, tackiness, color transfer or edge movement. Here, judge the result against the surrounding Vinyl / LVP on the Floor; reducing Adhesive Residue is useful only while color, sheen and texture remain unchanged.
If the defect is smaller but still visible, decide whether another controlled pass is justified. A second gentle pass is often safer than jumping directly to a much stronger method. If progress stops, the diagnosis may be wrong or the damage may no longer be removable by cleaning alone. For this guide, the practical constraint is the Vinyl / LVP on the Floor, so escalation should stop before treating Adhesive Residue begins to alter the finish.
When DIY stops being the right answer
Stop when the material itself is changing: coating lifts, color transfers, a joint swells, a finish becomes sticky, a printed layer is exposed, a crack expands, or the surrounding sheen changes noticeably. Those are repair boundaries, not signals to scrub harder. For valuable, warrantied or structurally damaged surfaces, manufacturer service or a specialist may be the lower-risk next step. Applied to How to Remove Adhesive Residue From Vinyl Flooring Safely, this checkpoint should be read material-first: protect the Vinyl / LVP and change only one variable at a time while assessing Adhesive Residue.
SurfaceFixLab editorial note
This guide is written for the surface and problem named above, not as universal advice for every similar-looking material. The reference sources below support the material-care limits and escalation logic used here. Exact branded finishes can have additional restrictions, so the care instructions for your specific product take priority when they are available. Here, judge the result against the surrounding Vinyl / LVP on the Floor; reducing Adhesive Residue is useful only while color, sheen and texture remain unchanged.
SurfaceFixLab launch note for How to Remove Adhesive Residue From Vinyl Flooring Safely. Before you start, test a small hidden area and avoid stronger chemistry or abrasion if the finish reacts. When to stop: if color, gloss, texture, coating or the substrate begins to change, stop cleaning and consider professional repair or replacement rather than escalating. Prevention matters after the fix: keep moisture, residue and repeat contact from building up again. Use the Fix Finder, browse surface guidance, or compare problem types before moving to a stronger method.
Reference set verified for the material-care limits used in this guide. Exact branded finishes may have additional restrictions.